You absolutely can make quality hard cider from cooking apples. My recipe with 2 secret ingredients and the one thing you have to do differently.
Cider making is a rewarding hobby, but many home cider makers shy away from using cooking apples. This is often due to the perception that these apples, bred for their culinary qualities lack the sweetness and are too acidic and sour for a truly enjoyable cider. However, this couldn't be further from the truth and i make a large batch every year.
Table of Contents
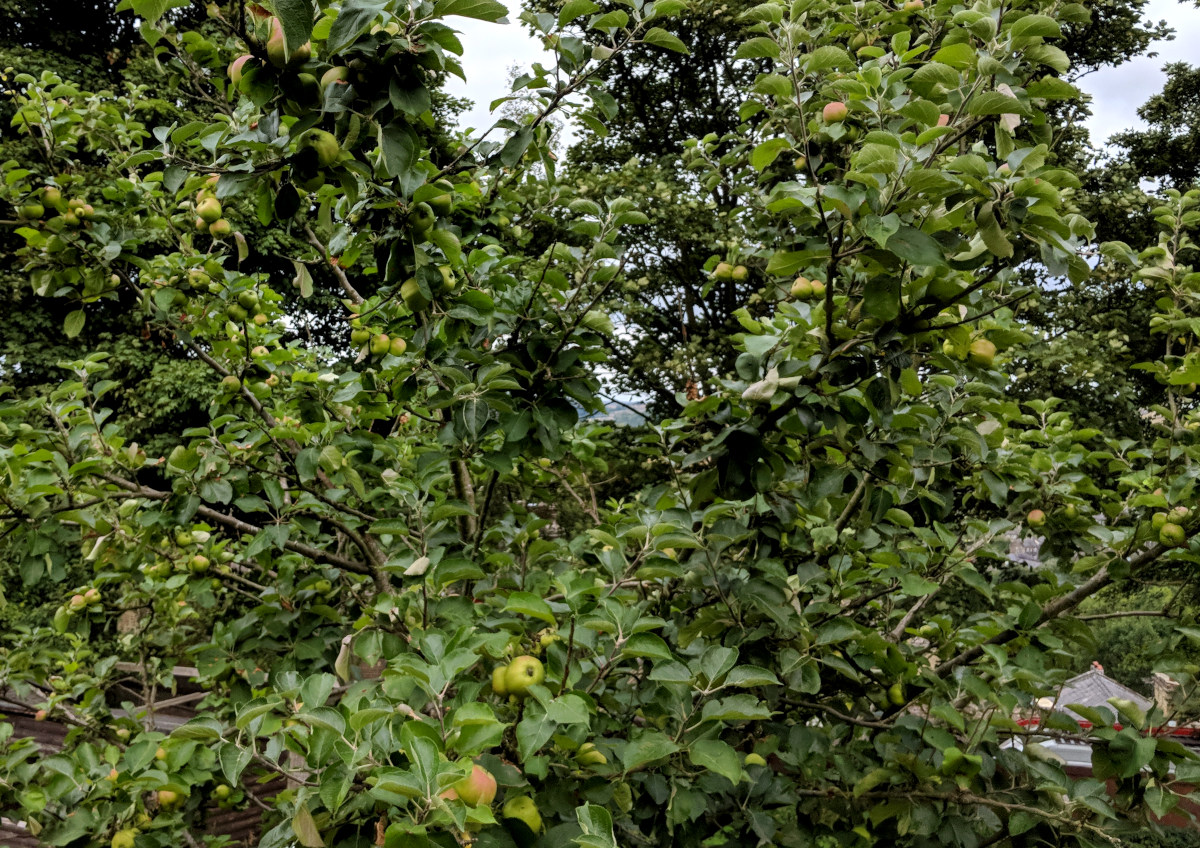
The standard advice is to never use more than one third cooking apples in any cider but I have 2 huge cooking apple trees, and several smaller ones, that produce over two tons of fruit a year so naturally I set out looking for ways to use them.
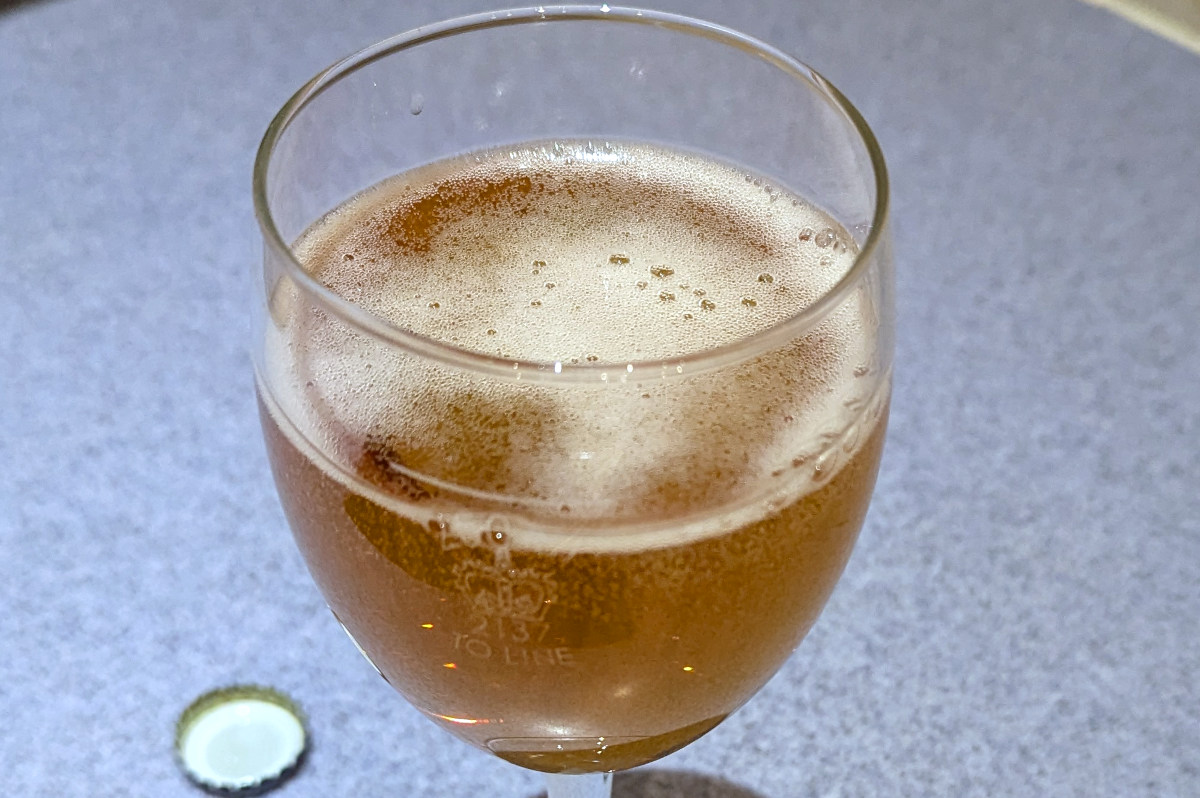
Below: The finished cider. Lightly sparkling.
Traditionally cooking apples were used sparingly in hard cider production.
Cooking apples are typically high in organic acids, including malic, citric and tannic acid which can make the cider too tart or sour if not balanced correctly. Also they tend to have slightly lower sugar levels and they also produce less juice than other types.
This high acid to sugar ratio is great for cooking because it helps maintain the fruit's structure and taste when heated, but in cider, it can overpower other flavours and make the product undrinkable.
Below: For most people, the idea of making hard cider conjures images of heirloom orchards brimming with bittersweet and bittersharp apple varieties.
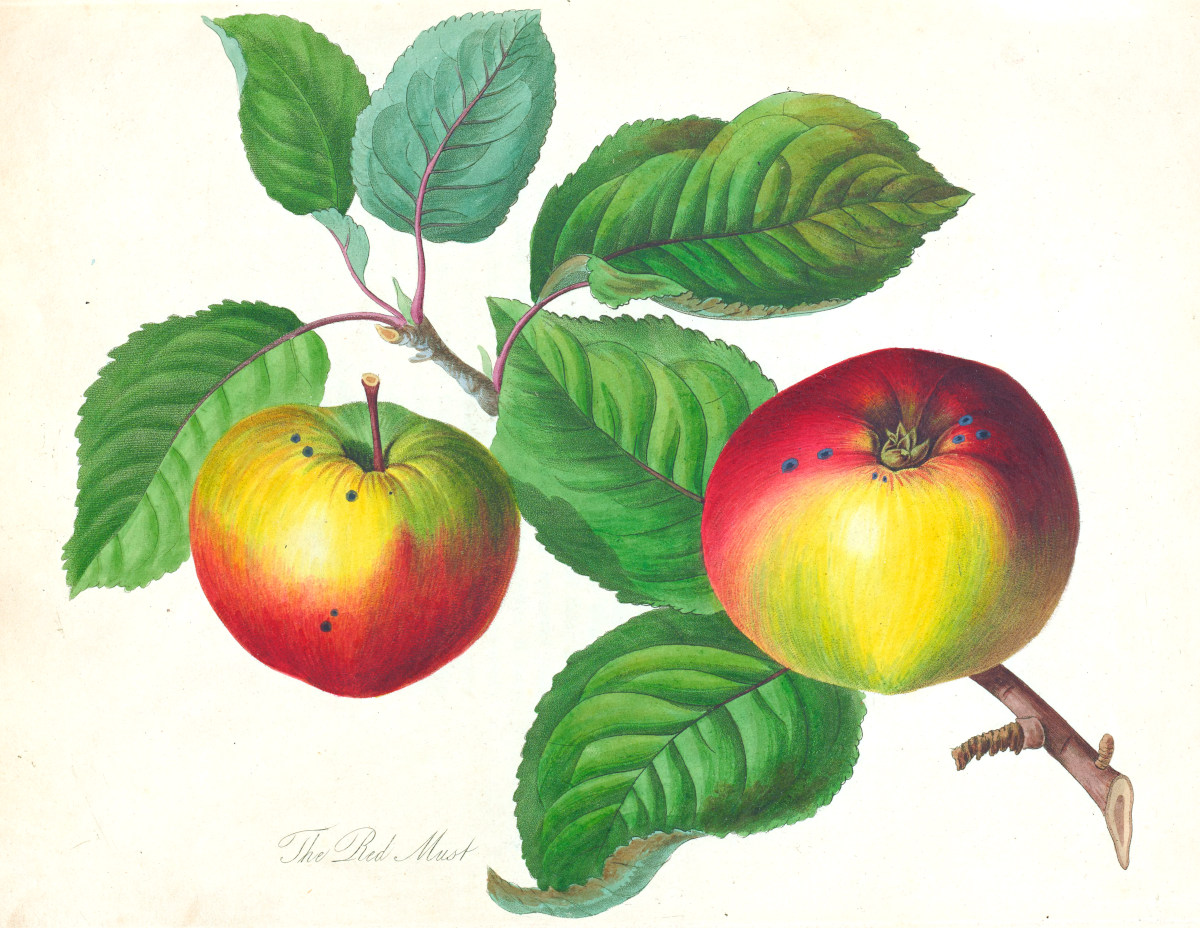
These specialised apples, with their high sugar, tannin and moderate acid levels, are often considered essential for crafting a balanced, complex cider.
My recipe and the secret ingredients:
I am going to assume you have some basic knowledge of cider making. At it's most basic hard cider is just fermented apple juice.
Below: Juicing the apples. I juice first and then press the leftover pulp.
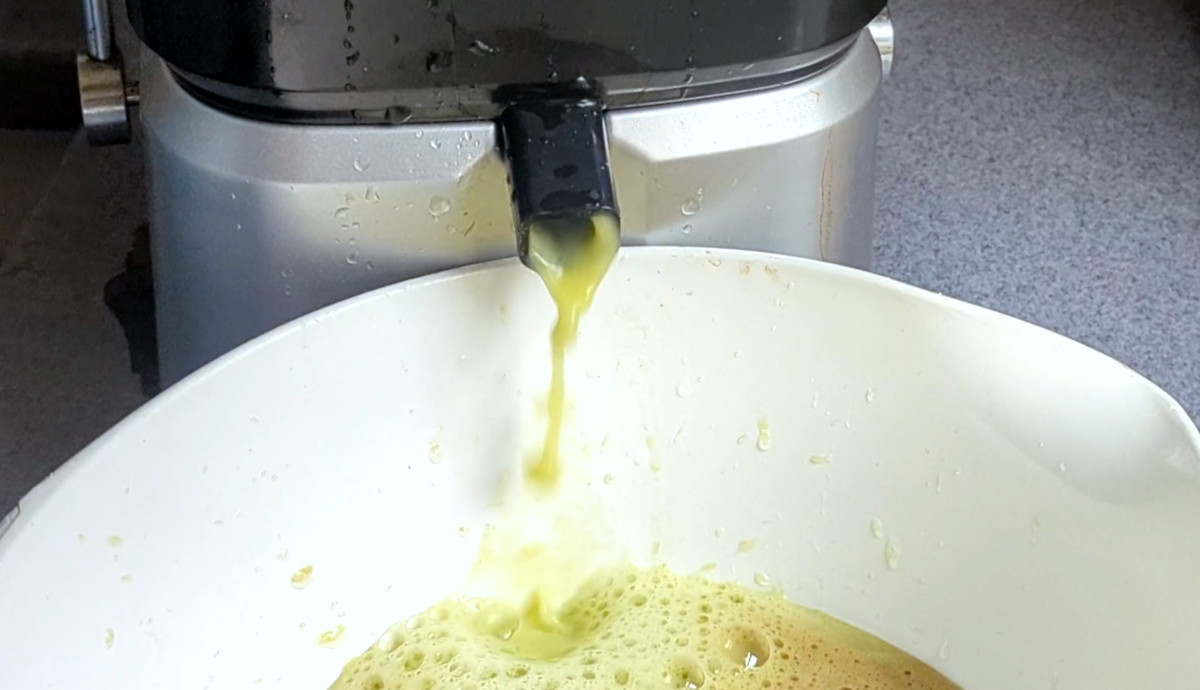
I use fresh unpasteurised apple juice and pitch a pre-activated yeast.
The recipe I used in this batch:
- 8.5 imperial gallons (39 litres) of fresh apple juice.
- 2.250 Kg sugar.
- 2 sachets of Lalvin EC118 champagne yeast.
- 12 black tea bags or 48 grams of loose leaf.
- Between 7.6 grams and 19 grams of calcium (or potassium) carbonate.
- Time.
- Campden tablets if you use them.
The two secret ingredients are calcium carbonate and time and because this cider takes longer to be ready it needs to be a little stronger, hence the extra sugar. In this case the 2.250 kilograms of extra sugar will increase the strength of the finished product by 3% and given a finished cider of 9%.
The formula for increasing the strength of any wine or cider is 19 grams of sugar per percentage point per litre, ie 19 grams of sugar will increase the alcohol level by 1% in one litre of finished product.
The black tea increases the tannin levels which can be low with cooking apples. You can start with less and add some more if you need to or leave it out for a really mellow final drink.
Below: The secret ingredients and my yeast.
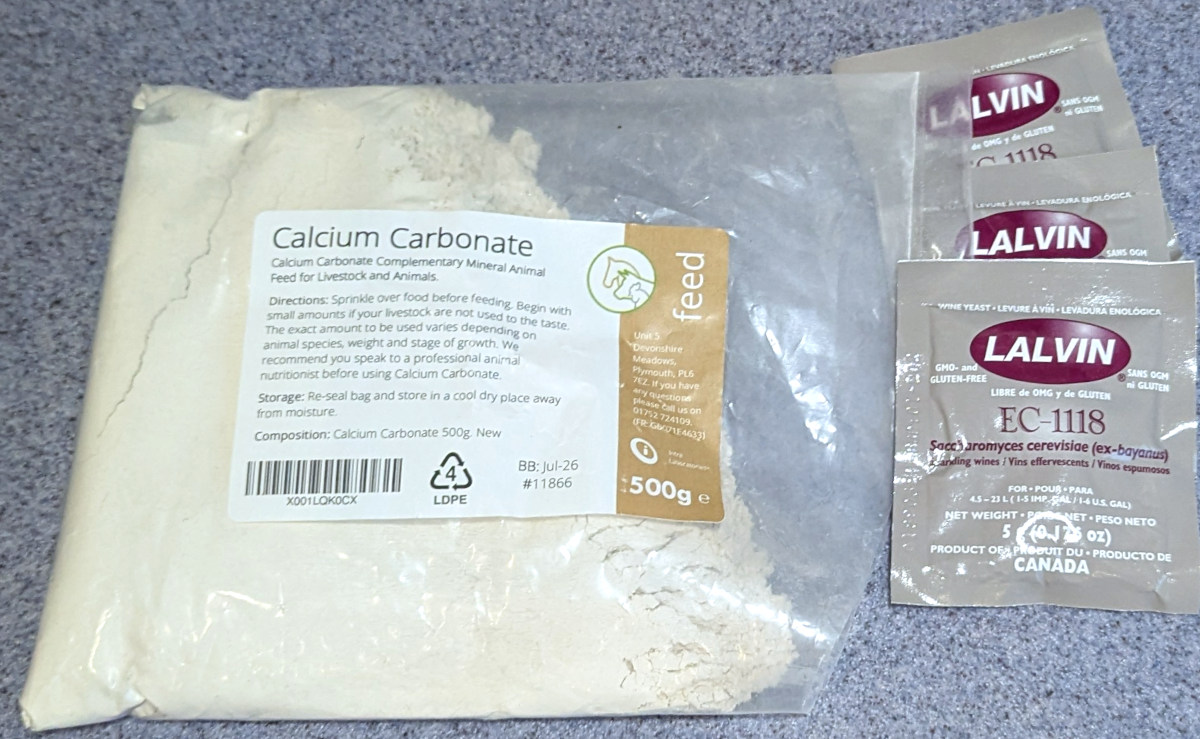
The calcium carbonate is readily available as it is used as a feed additive for livestock and needs to be added to neutralise some of the acids in cooking apples as they can over-power the finished product and even upset the stomach when drunk.
Calcium (or Potassium) carbonate is added a few grams at a time till the desired acid levels are achieved. For this recipe I ended up using 2 teaspoons of calcium carbonate which equates to 11 grams.
Time is the last secret ingredient I use. I leave the finished cider to undergo a secondary malic acid fermentation (Malolactic fermentation) which begins the week after the primary fermentation has finished and lasts for at least three months. Malolactic fermentation raises pH and lowers acidity, which makes the drink feel smoother and rounder.
Below: I age my hard cider for at least 6 months. Firstly in bulk and then in the bottle.
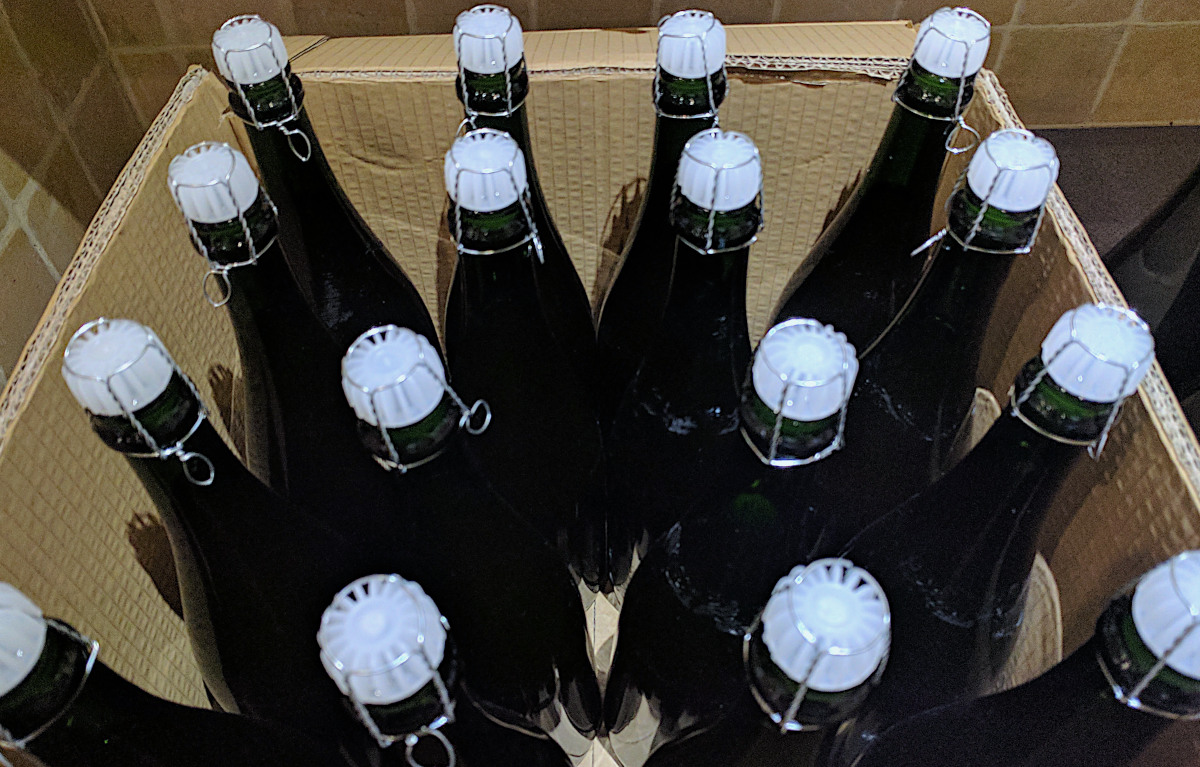
The longer you age the stronger the cider needs to be.
For sparkling cider, add priming sugar and bottle in sturdy bottles for natural carbonation. For still cider, skip priming sugar and use airtight bottles.
Tips for making the best hard cider from cooking apples:
- Leave the apples on the tree until the first one falls, this indicates that they are at their most ripe.
- Clean and sanitise all equipment thoroughly, including fermenters, airlocks, and siphons, to avoid contamination.
- Use fresh, clean apples. Remove bruised or rotten parts to avoid off-flavours.
- Use yeast strains that can handle high acidity. I use Lalvin EC-118 yeast which is normally a champagne yeast but it works very well for this task.
- Use pectic enzyme to break down pectin in the juice, leading to clearer cider if that is your preference.
- You will need to add some sugar to a cooking apple cider.
- Young cider can taste harsh. Ageing for 3–6 months (or longer) allows flavours to mellow and develop complexity.
The finished hard cider and taste testing:
I need to preface this section by saying that I do not have a sweet tooth at all and like my cider dry. If you prefer a sweeter cider, back sweeten with sugar, honey, or apple juice after fermentation, but stabilise with potassium sorbate to prevent renewed fermentation.
This cider tasted dry with a wonderful apple flavour. It is lightly sparkling rather than fizzy and is mellow and drinkable. The acidity and tannin are just right.
Below: My bottle conditioned finished cider.
When approached thoughtfully, cooking apples can produce a cider that’s crisp, refreshing, and bursting with bright, zesty notes.
It might not replicate the velvety richness of a traditional farmhouse cider, but it offers its own unique appeal—a light and lively drink perfect for summer afternoons or pairing with food.
