Homemade double strength marmalade recipe for Parkinson's sufferers. Pictures and video of every stage.
Anyone who has or cares for someone with Parkinson's disease will know that one of the things that degenerates over time is the ability to taste and smell. When this happened to my father-in-law I set out to make foods that were stronger in taste and smell to bring some pleasure back to his meal times.
Table of Contents
Marmalade, with its vibrant colour and tangy sweetness, can be a delightful addition to breakfast or a midday snack. For individuals with Parkinson's Disease, a double-strength version can offer a more concentrated flavour, making it easier to enjoy.
Don't want to make it? UK mainland residents can buy it.
This recipe is for a cloudy, double strength marmalade with a tangy, rich, concentrated taste and thicker texture that sets while it is still warm! I use a mix of oranges, lemons and limes for the ultimate citrus kick.
You should avoid using grapefruit in this recipe as it can interfere with medications used in some conditions.
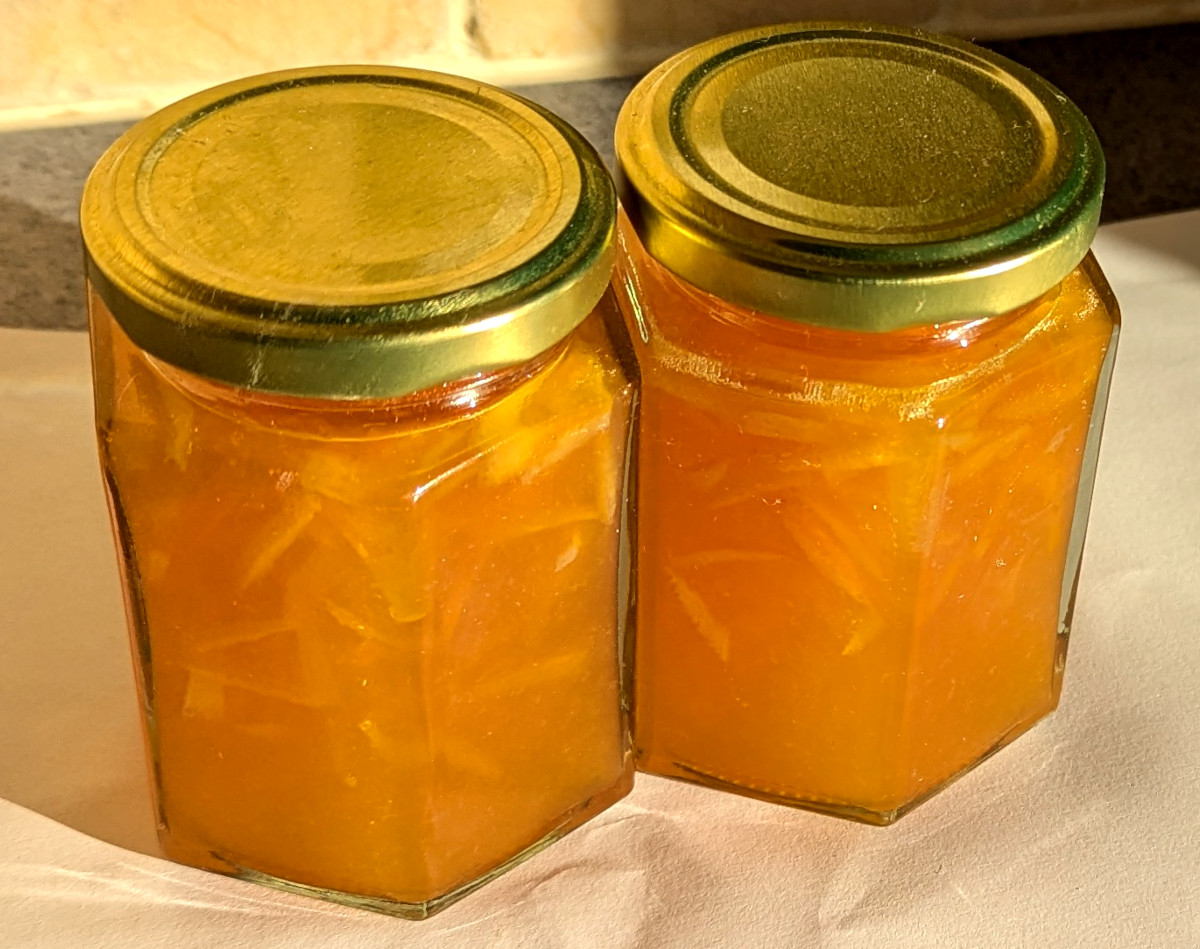
Below: The finished product.
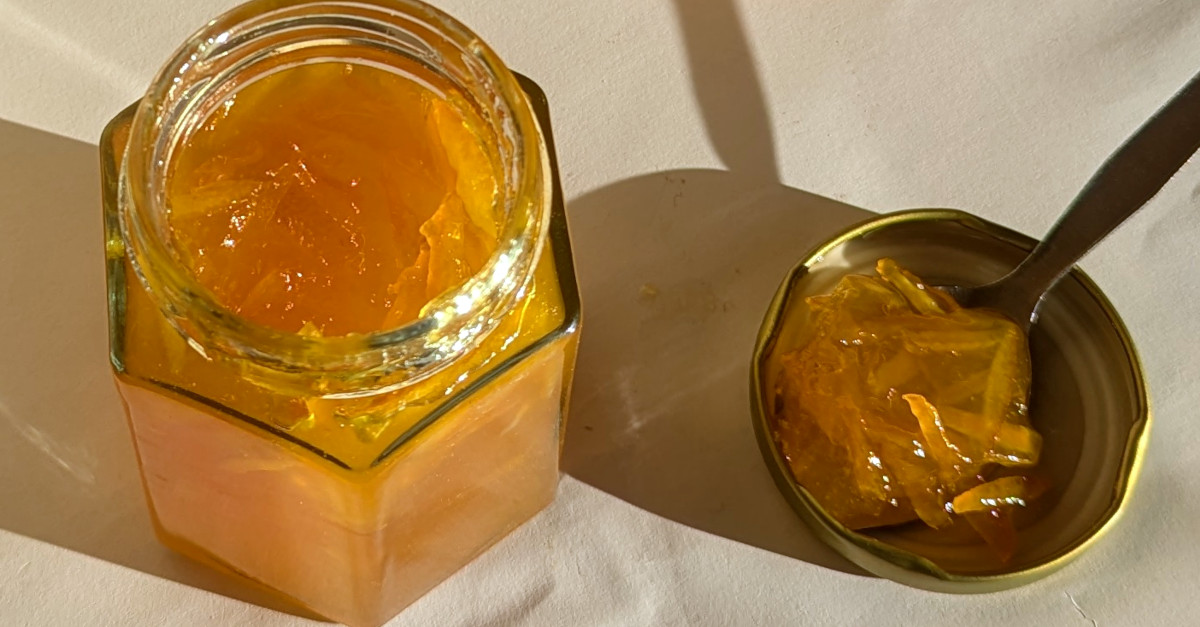
My method, among other things, reduces the water content, concentrating the flavours and giving you a denser, more robust spread. It's ideal for those who love a sharp citrus punch or for when you want your toast or scones to carry an extra zing or if you are losing your sense of smell.
Time allowance:
Preparation time: 1 hour and cooking time: 1 hour to 90 minutes.
This is not something you can leave, it will need supervision at all stages of the cooking process.
The ingredients in my marmalade differ from the standard recipe, as does the preparation process.
Equipment checklist:
- Sharp knife - For slicing citrus fruit thinly.
- Cutting board - For safe and clean fruit preparation.
- Sieve or muslin bag - To strain the fruit pulp.
- Measuring jug - To measure sugar and water precisely.
- Scale - to weigh the sugar.
- Preserving pan or large, heavy-bottomed pot - To cook the marmalade; ensure it’s large enough to prevent boiling over.
- Wooden spoon or heatproof silicone spatula - For stirring the marmalade as it cooks.
- Candy thermometer or digital thermometer - To check the setting point
- Jam funnel - To neatly pour marmalade into jars.
- Ladle - For transferring the hot marmalade to jars.
- Cold plates or saucers - For testing the marmalade’s set (keep them in the freezer).
- Small spoon - For spreading marmalade during the set test.
- Glass jars with lids - Sterilised, preferably with a tight seal.
- Heat proof gloves - For handling hot pans and sterilised jars.
- Labels and marker - To label jars with the type and date.
- Timer - To keep track of cooking and testing intervals.
Before we dive into the process, let's gather our ingredients:
For this recipe you will need:
- Citrus fruits; a mix of unwaxed oranges, lemons, and limes for added depth of flavour, but not grapefruit.
- Granulated sugar.
- 2 Litres Orange juice; from concentrate is fine.
You will notice that exact amounts are not given and this is because I will adjust the amount of sugar depending on how much juice I get after cooking.
Below: The basic ingredients for this project.
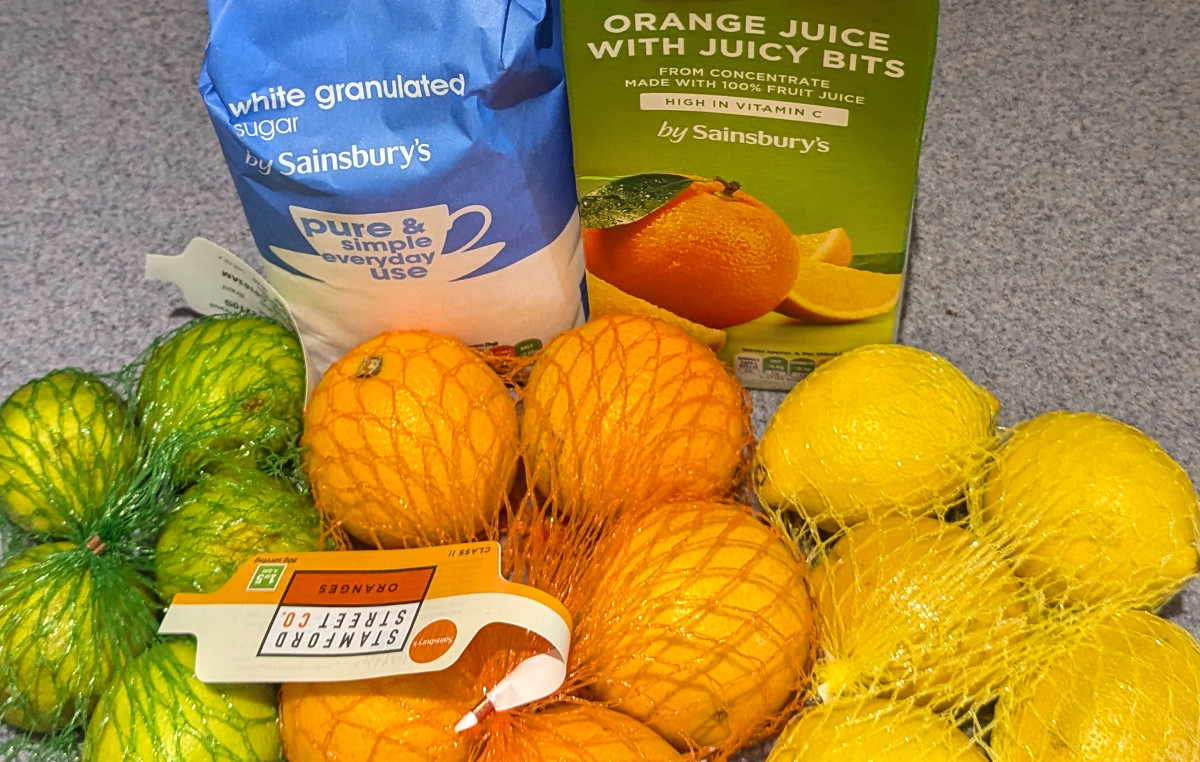
Seville oranges, known for their bitterness are the standard for marmalade but they are not a necessity here and if you can't find any ordinary store bought sweet ones will be fine. I bought ordinary 1 litre tetra packs of orange juice from concentrate with bits when I made this.
Optional extra ingredients.
These are extras you can add to improve or alter the flavour of the finished product.
- A small pat of butter to reduce foaming.
- Rum
- Whiskey
- Coffee / Espresso.
- Ginger
- Cardamom
I have never added coffee or espresso to my marmalade but both the rum and the whiskey work very well.
Yield:
The ideal fruit to liquid ration doesn't matter so much with this recipe as it substitutes orange juice for water.
I used 5 oranges, 5 lemons, 5 limes, 2 litres of orange juice and 1.9 kilograms of sugar and made 8 X 340 gram jars of marmalade with a little left over for taste testing!
The exact yield will depend on the size and ripeness of the fruit and a few other factors.
My Method:
To begin the preparation I always wash my fruit before I start. My preferred method is to boil the kettle and dip the citrus in the boiling water.
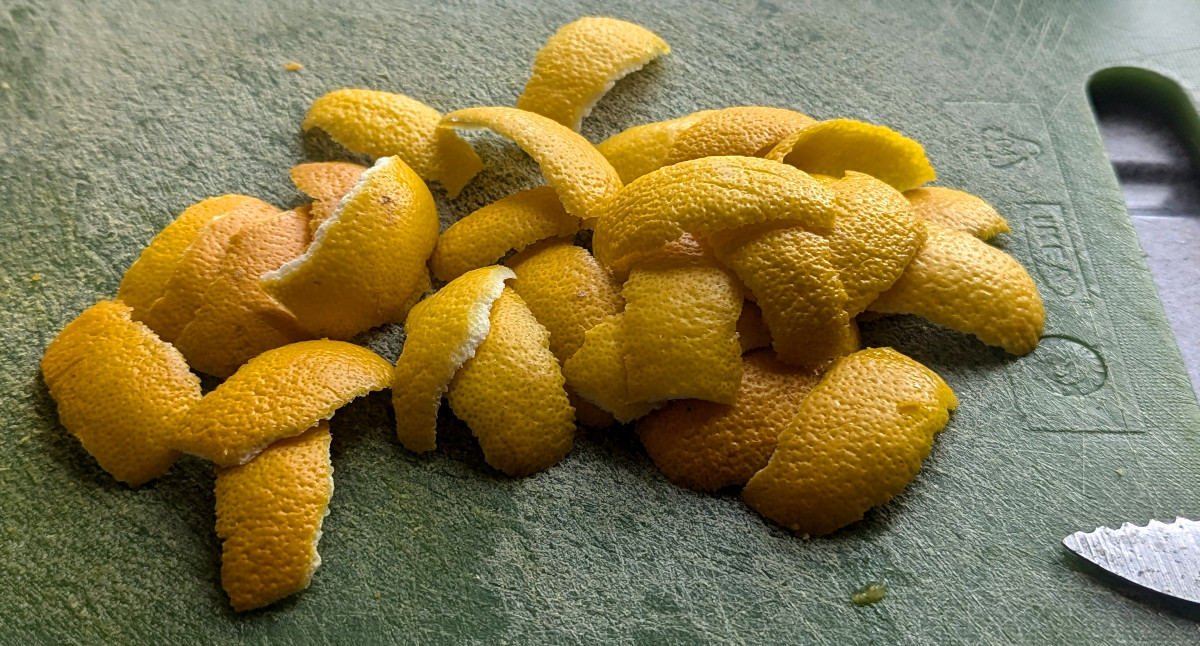
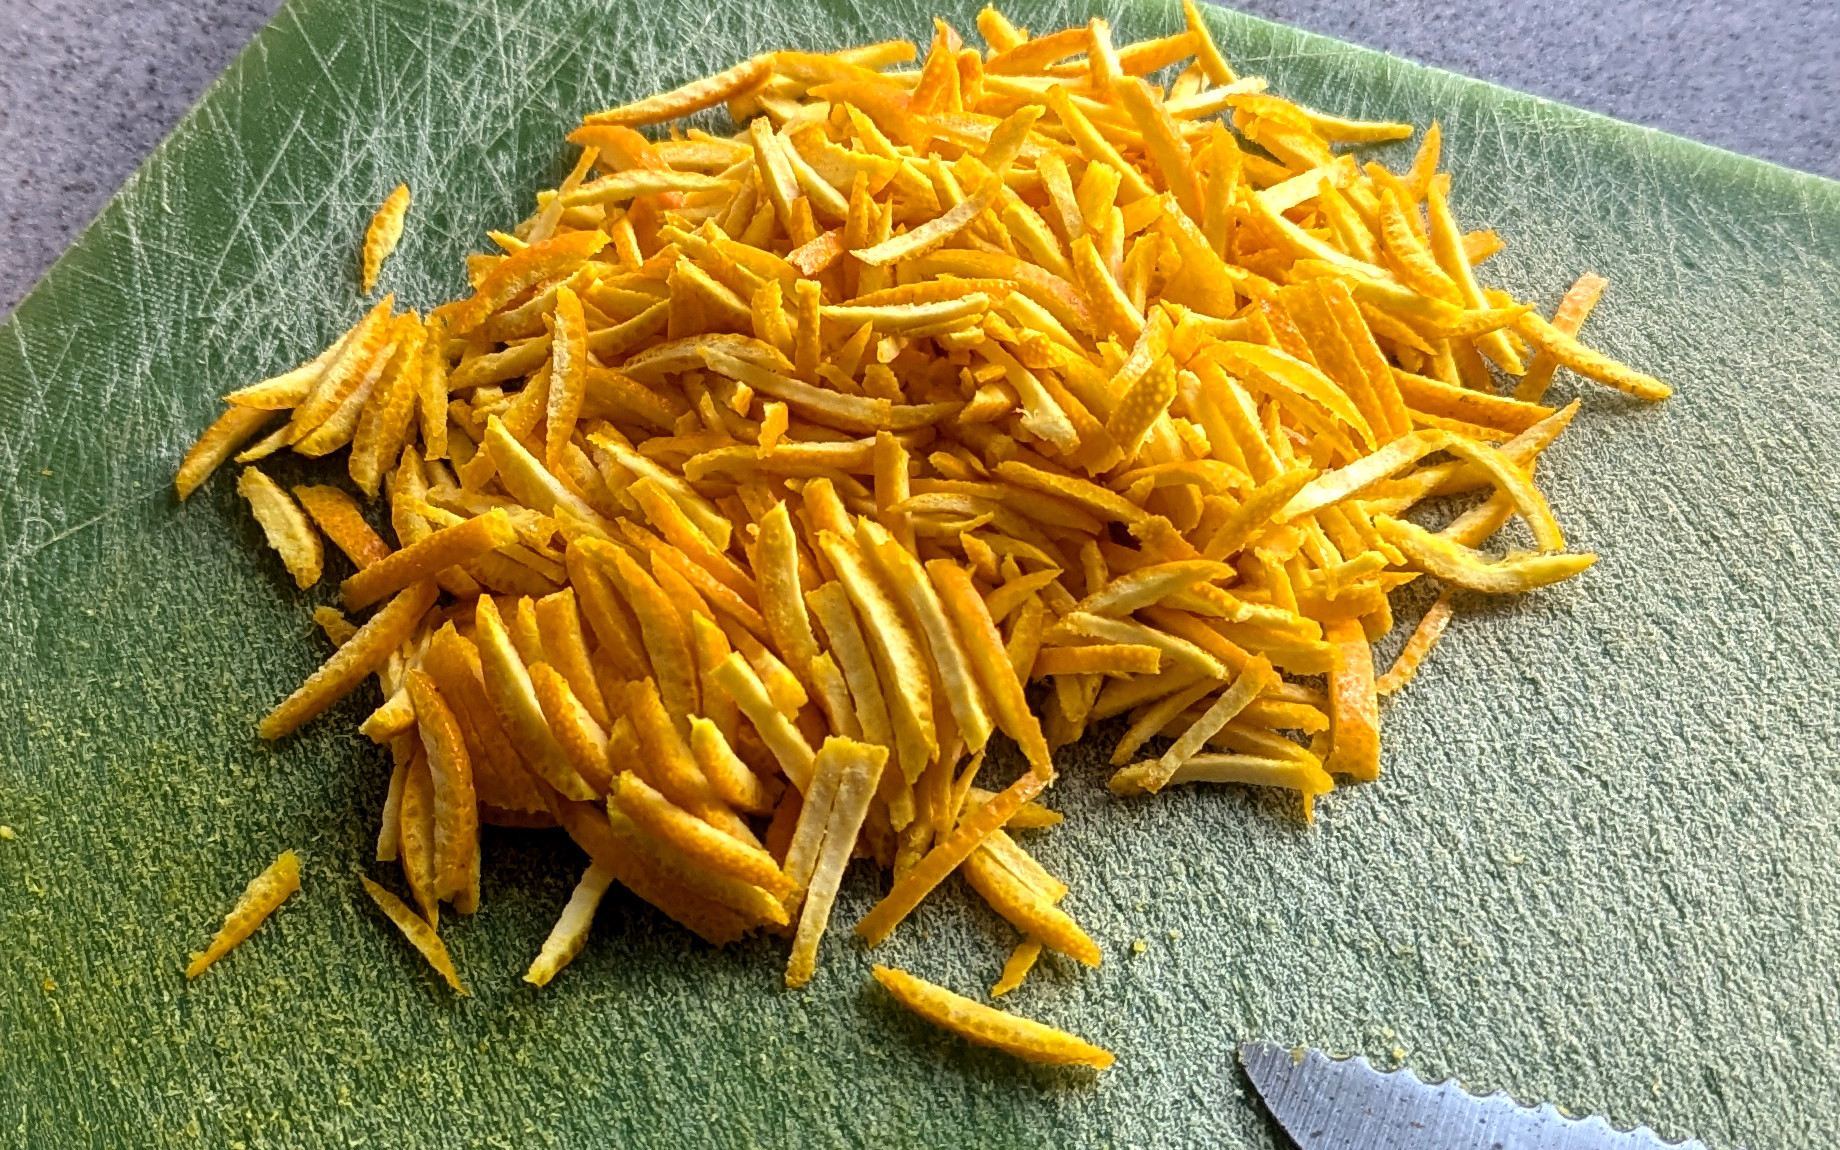
Next slice the skin off the fruit and slice thinly. This will give you the bits in the finished product so choose fine or chunky if you prefer. I like a chunky shred in my marmalade.
Below: Slice off the peel of the citrus.
Top tip here: If your parky sufferer has trouble swallowing then put the bits in a food processor and pulse for a really fine shred.
Below: Slice the peel thinly to produce the "shred" in the marmalade.
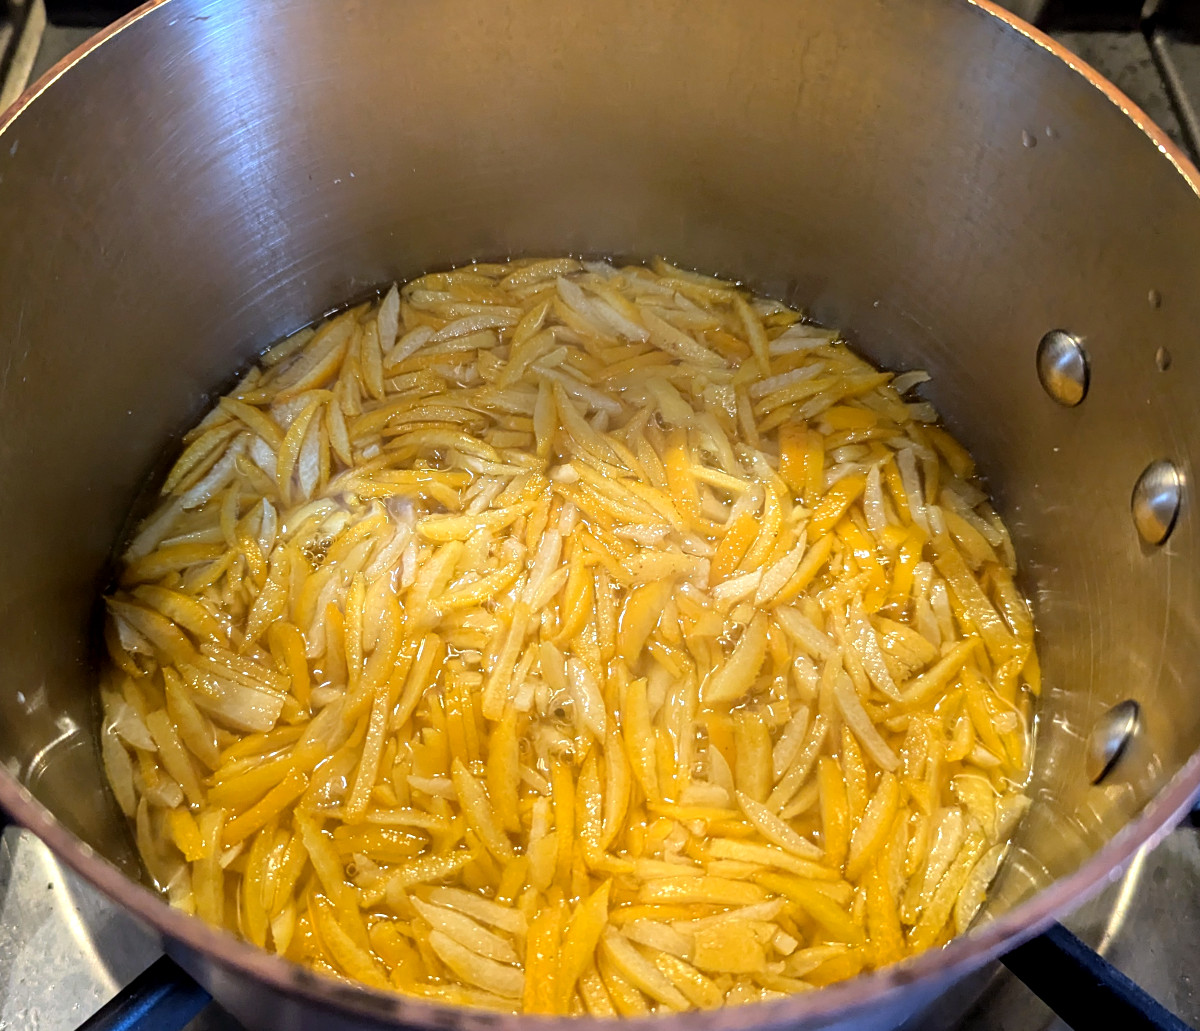
Place the shred in a saucepan with a lid, cover with orange juice and simmer for 30 to 40 minutes until the peel is cooked through. It should look opaque and be completely soft when properly cooked.
Below: The cooked peel.
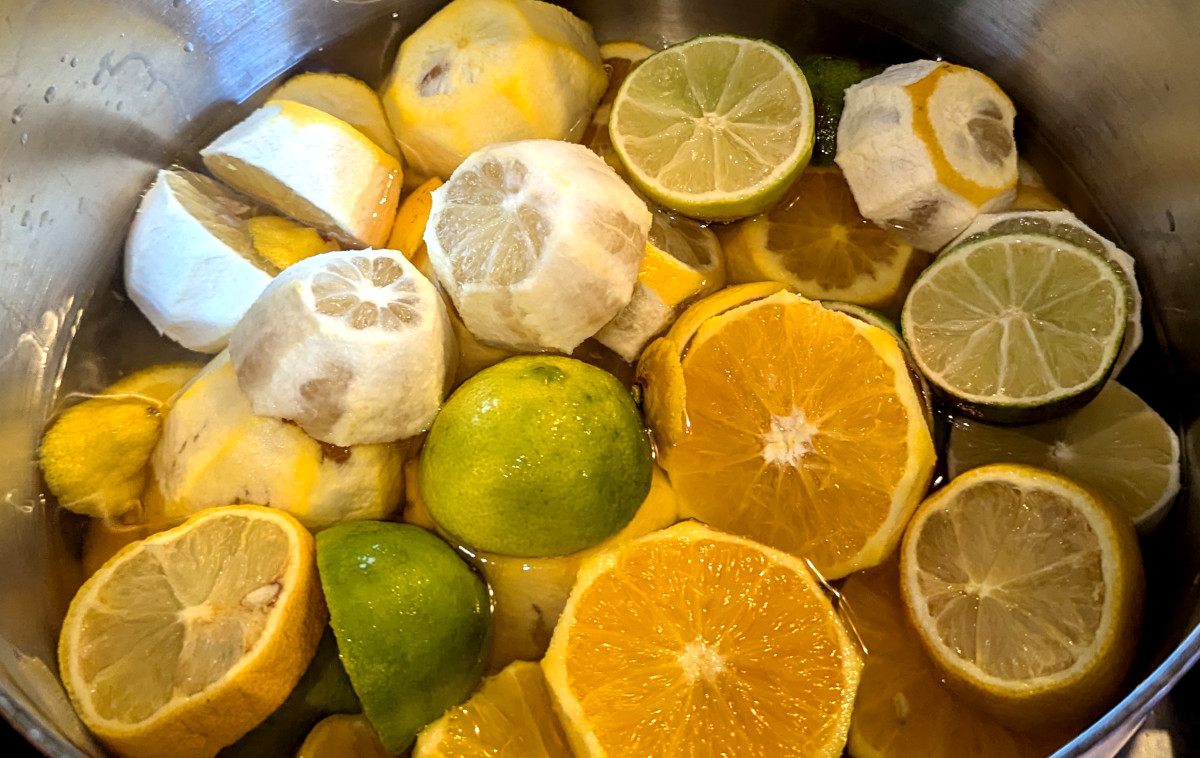
Chop or slice the rest of the fruit and place in a stainless steel saucepan with a solid base. Cover the fruit with orange juice.
Below: The rest of the fruit prepared for cooking.
The next stage will extract the flavour and the pectin needed for setting the marmalade from the fruit.
Cooking the fruit:
Bring the mixture to a boil and reduce to a simmer, cover and let it cook until the fruit is soft and tender. For the batch I made recently that was around 40 minutes. If you don't cook for long enough you risk low pectin levels and a soft and runny marmalade.
Be Patient, a slow simmer during the cooking process enhances the flavour.
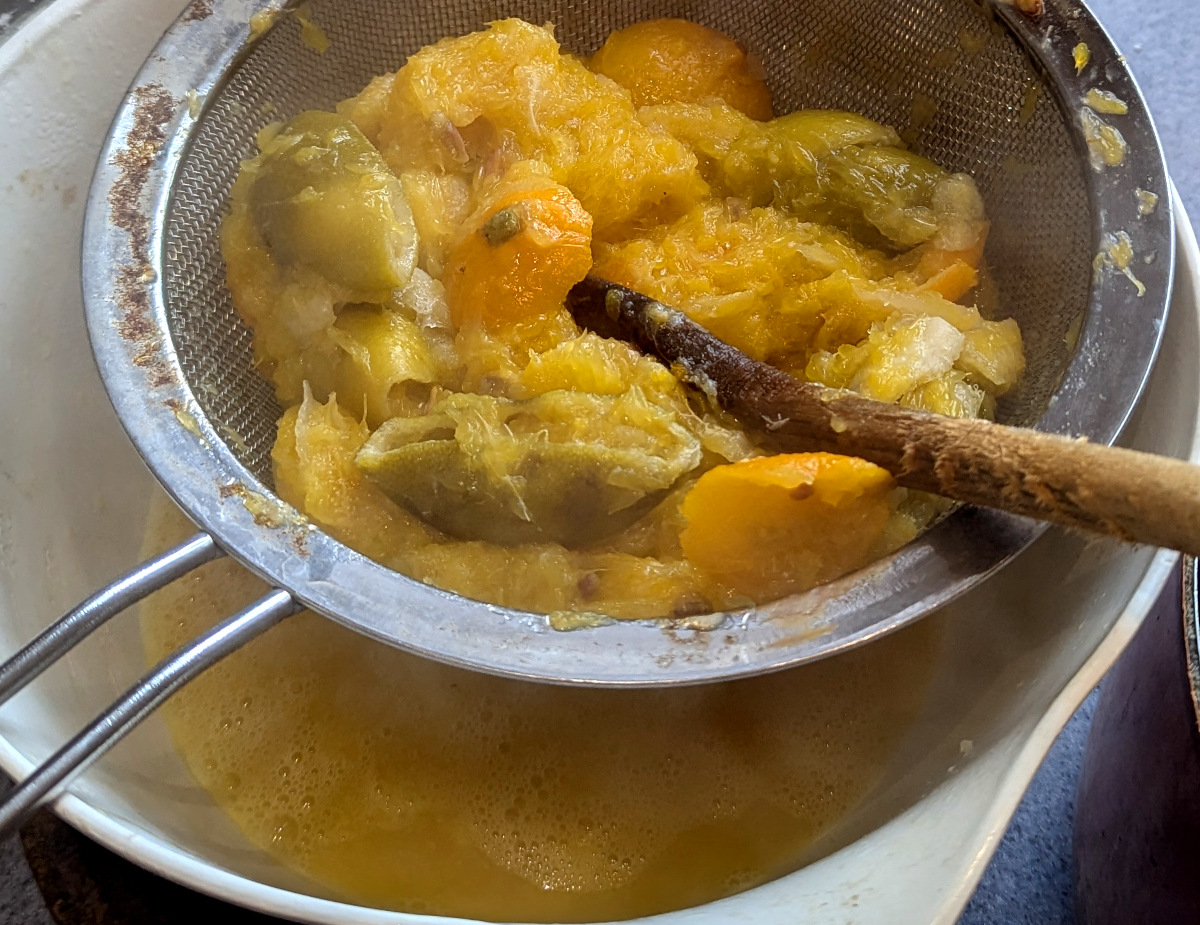
Remove from the heat and pass through a sieve. Don't be afraid to work the fruit in the sieve and get all the bits through. I use a splash of boiling water from the kettle to rinse the pulp a bit.
Below: Put the cooked mixture through a sieve to get as much juice as possible.
Add the juice and the peel you cooked earlier to a measuring jug. You will need to add an equal amount of sugar in kilograms to match the amount of juice you have in litres.
Don't forget to include the shredded peel you cooked earlier.
This is the time to add any additional ingredients, if you are using rum or whiskey you will need to increase the amount of sugar added using the formula below.
Add the sugar; In the batch I made for this demonstration, I ended up with just over 1.87 litres of juice so I added 1.9 kilograms of sugar.
Stir until the sugar has dissolved, then increase the heat to return to a boil.
Boiling the marmalade:
The boiling process takes the watery juice through to a thick flavoursome end product and takes time.
When you first first return the marmalade to the boil it will look thin and light in colour
Below: Initially the marmalade will look thin and pale and produce a scum on the surface.
Adjust the heat until a rolling boil is achieved and stir regularly to make sure nothing sticks to the bottom of the pan. Leave the pan uncovered to allow water to evaporate during the boiling.
Periodically remove the scum that forms on the surface with a ladle.
Below: Removing the scum with a ladle.
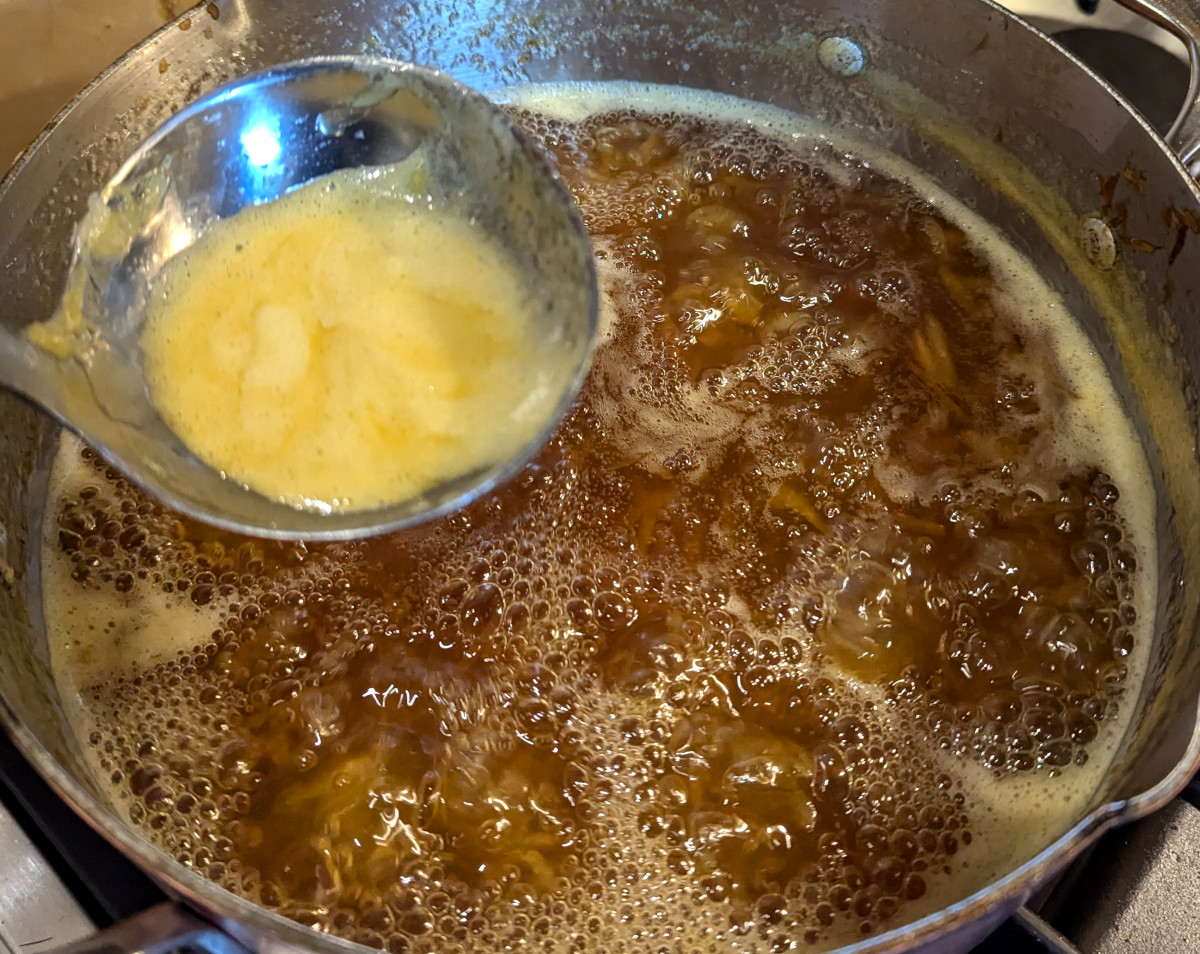
As the marmalade boils the colour deepens and it thickens. You will need to keep a close eye on it at this stage as it may rise up in the pan and boil over as the temperature climbs.
Below: After around 40 minutes of boiling the marmalade has thickened and taken on a deep rich colour.
Some water has evaporated, concentrating the flavour even more.
Testing for Set:
This is a bit of odd point really as I have never had this marmalade not set, even when still warm!
The Wrinkle Test: After about 20-30 minutes of boiling with sugar, start testing for the set. A drop on a cold plate should wrinkle when pushed with your finger.
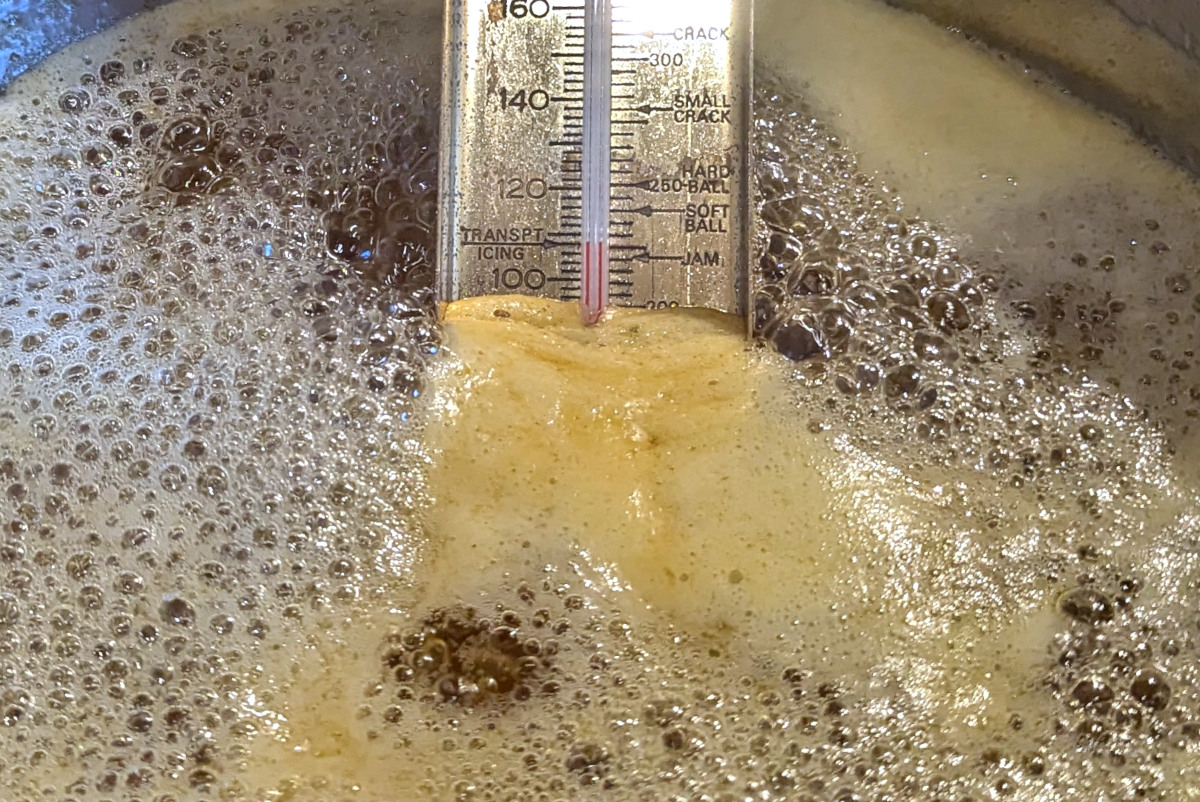
Temperature Check: If you are using a sugar or candy thermometer, aim for 107°C (220°F) or just above.
Below: I like a thick well set marmalade so i go to 108 centigrade or 226 Fahrenheit on the sugar thermometer.
Finishing Up:
Pour the marmalade into sterilised jars while it’s still hot using a jam funnel so as not to burn your fingers and spill.
Seal tightly and let it cool. Once set, store in a cool, dark place until you’re ready to enjoy.
