Good fences make good neighbours. Fencing your allotment - 11 ideas from budget setups to fancy fixes.
Fencing is primarily used to mark the edges of your allotment and provide protection for vegetables, especially against pests and wildlife that feed on plants, but it can also be used as an extension of your allotment.
Table of Contents
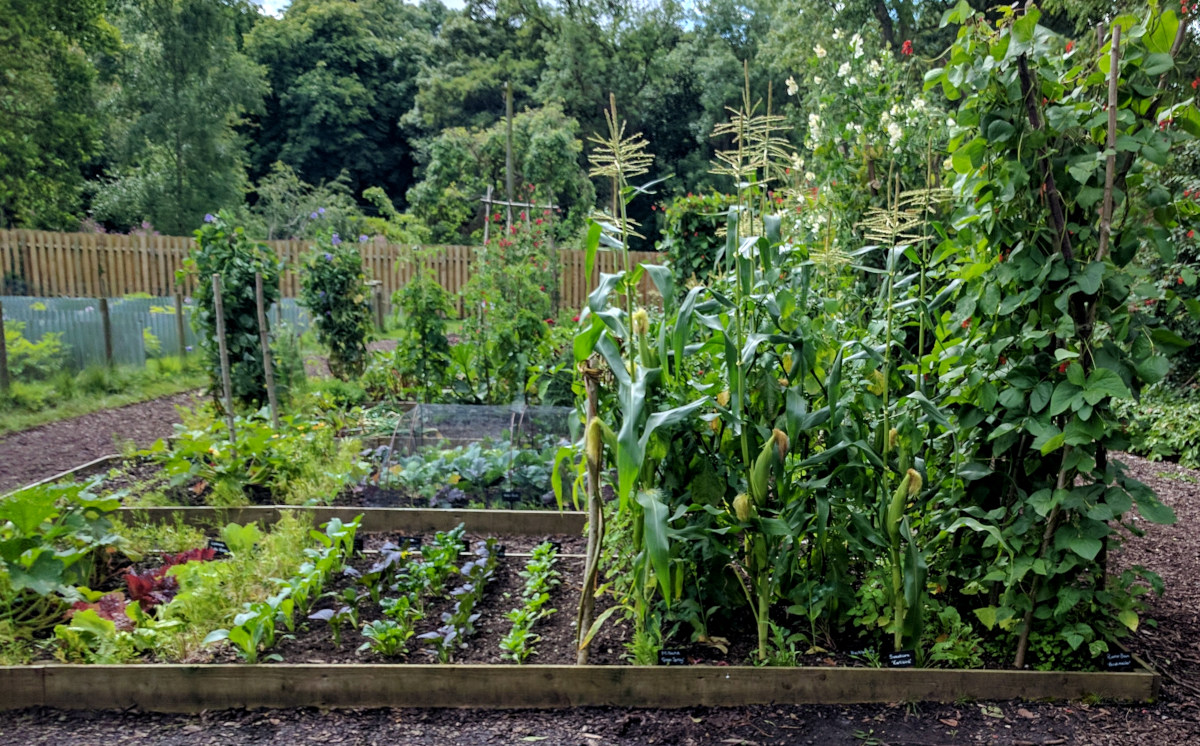
I make use of trellis to double up as a support structure for climbing plants like cucumbers, beans and cantaloupes.
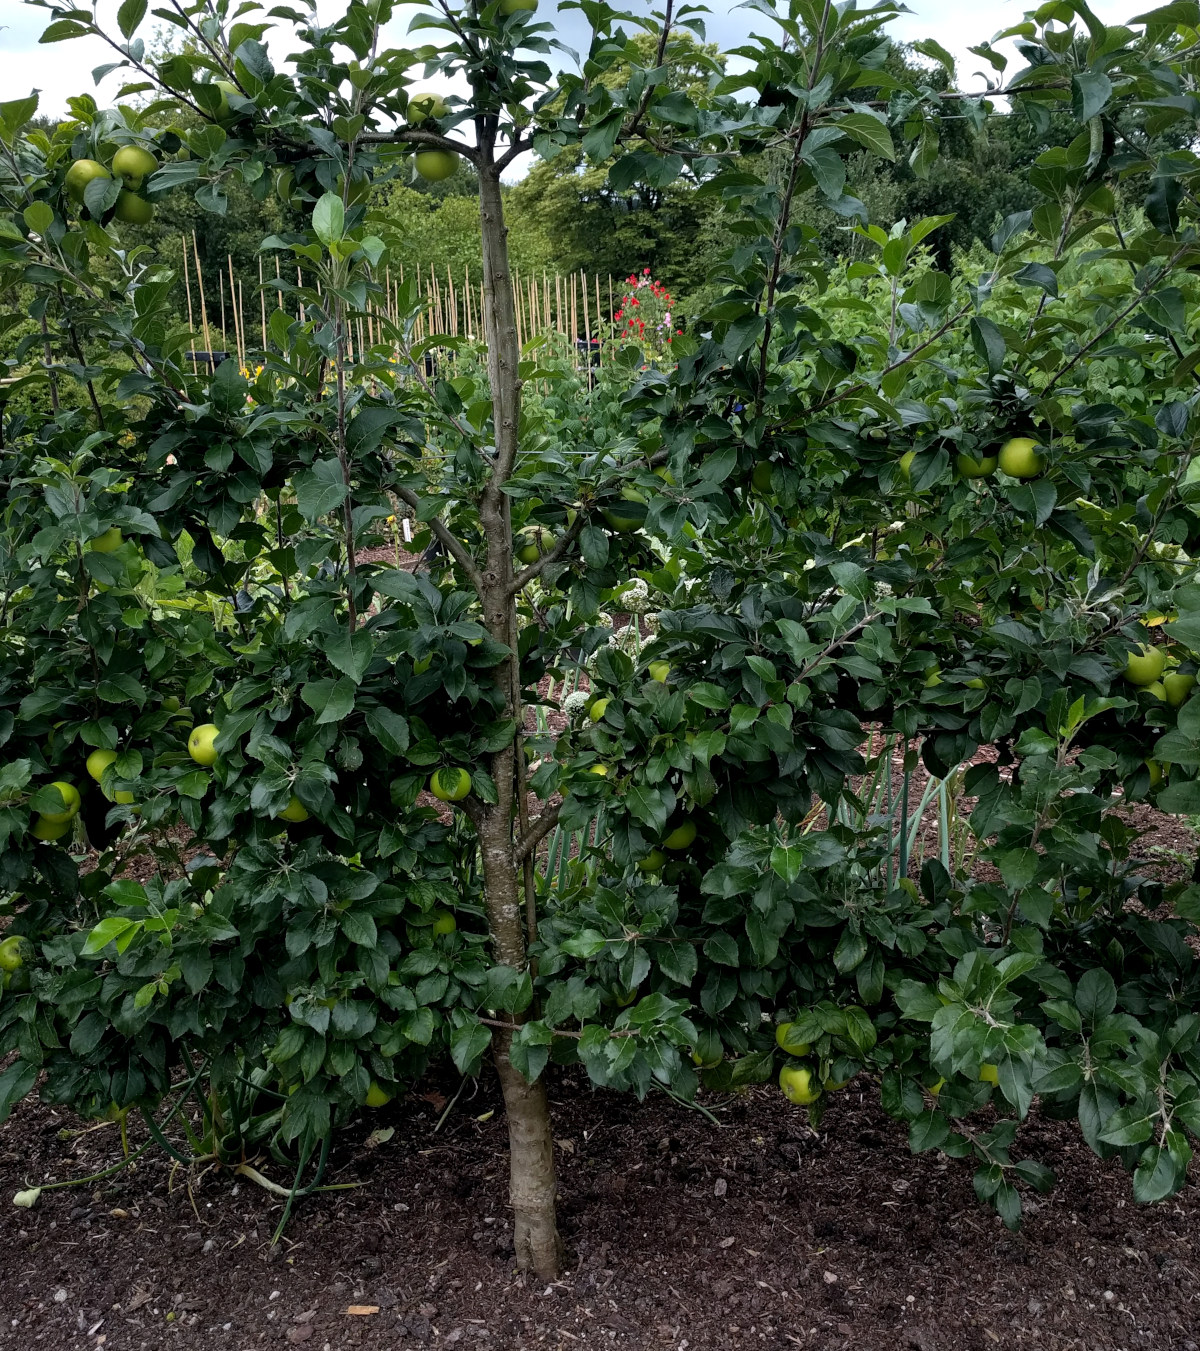
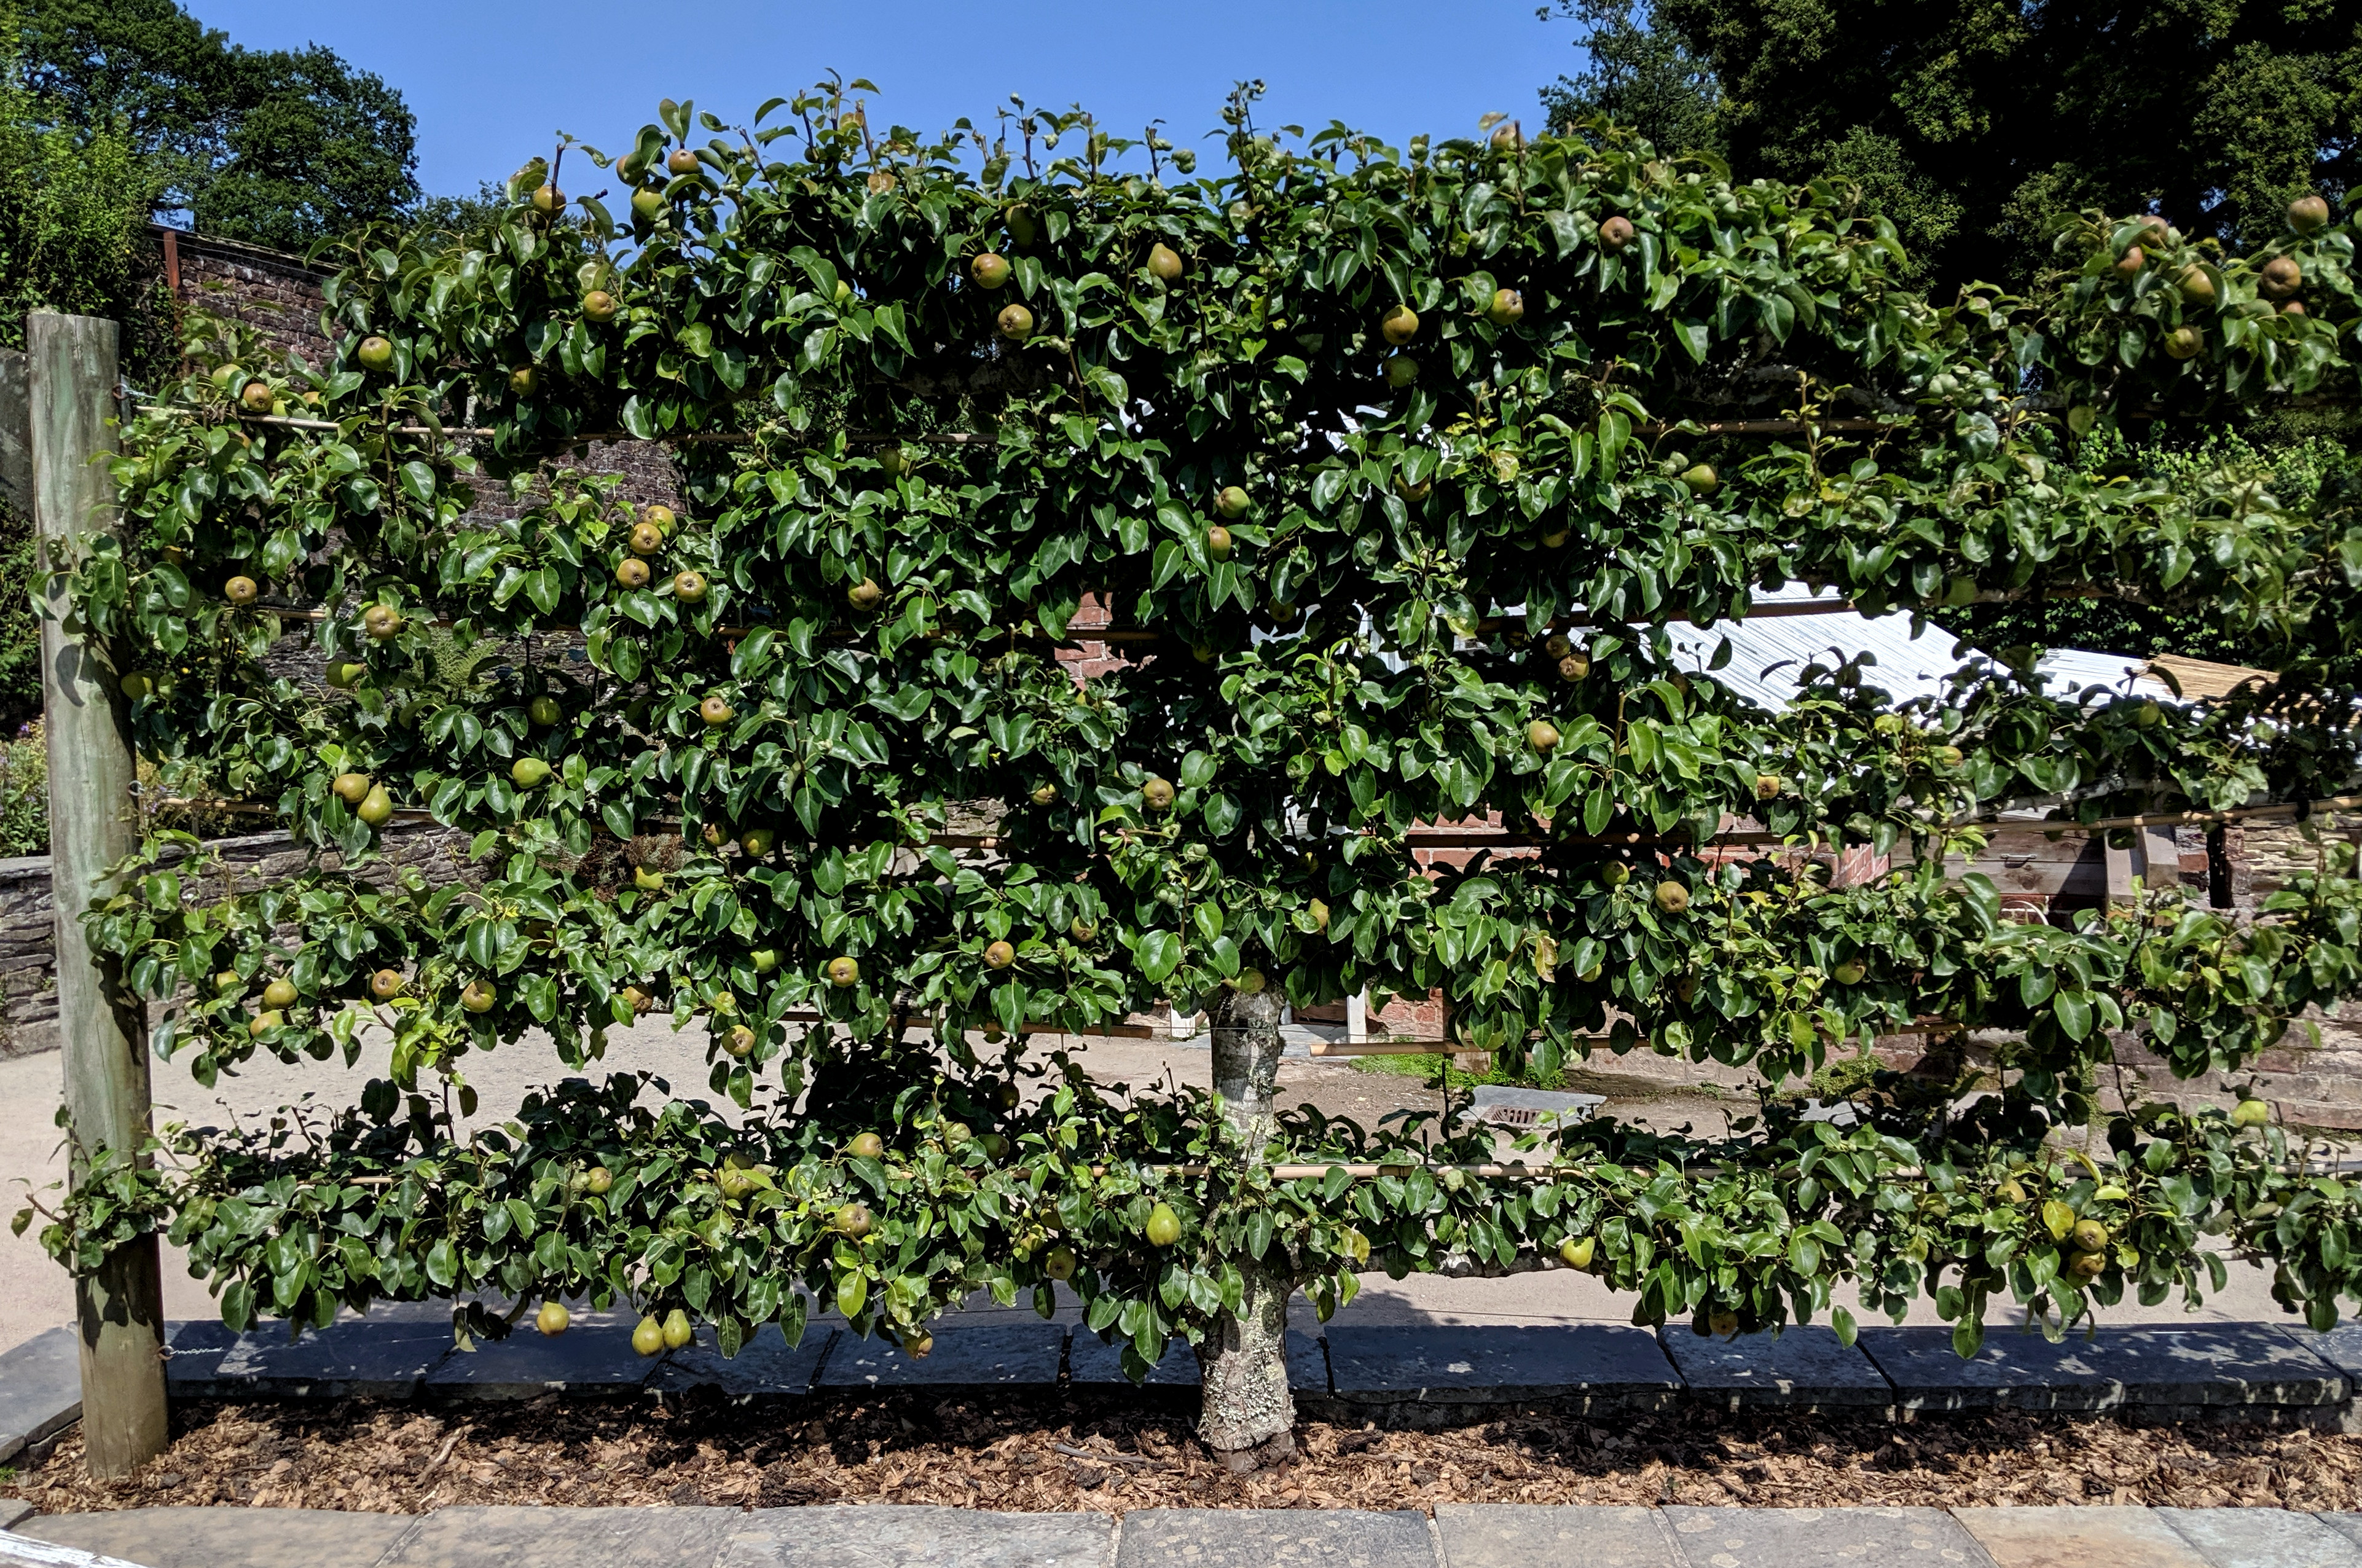
Below: I also use espalier trained apples trees as a fence.
Take your fencing seriously. It's an investment in my allotment and sanity. And remember, a well-fenced allotment isn't just about keeping the critters out; it's about creating a safe and productive space where you can enjoy the fruits (and vegetables!) of your labour.
Why you need allotment fencing:
Fencing protects crops from pests like rabbits, deer, and foxes. It also stops people from wandering onto your plot and helping themselves.
Below: Fencing can also be used as an extension to your allotment allowing you to grow vertical crops around the edges of your land.
I learned this the hard way when kids playing football flattened my lettuce. Fencing keeps your space safe and saves your sanity. Privacy is another issue, sometimes I just want to potter around in peace!
A decent fence reduces crop loss, defines boundaries, and stops disputes with neighbours.
Below: Chicken wire is an easy to use and common fencing material.
Check local allotment rules as some have height limits or material restrictions.
Fences, bed boundaries and edges can also help with crop rotation. A solid fence can provide some protection from strong winds, which can damage delicate plants.
Common fencing mistakes (I’ve made them all).
I’ve botched fencing more times than I care to admit.
Leaving it too long: Siting fences and water butts is a first step when dealing with allotments.
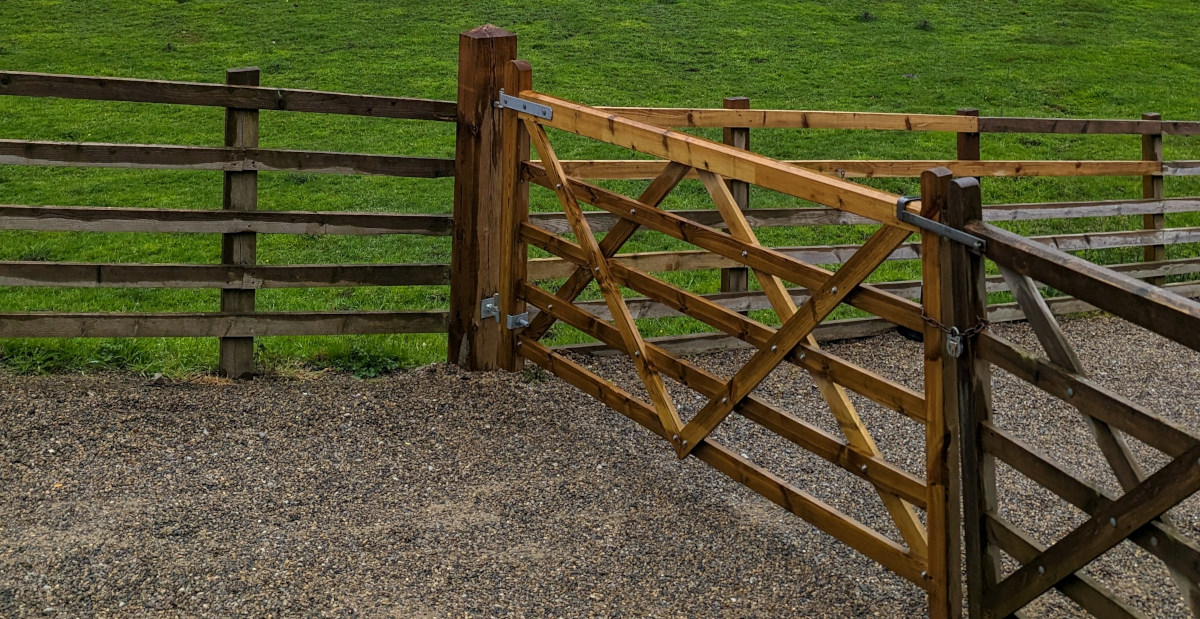
Not thinking about gates! You’ll need easy access, so plan a gate that’s big enough for wheelbarrows and tools.
Going cheap: Pallets are often free but rot in a few years.
Skipping posts: Fencing sags without support. I learned this when mine collapsed in a storm.
Ignoring gaps: Pests sneak through tiny holes. I Patched small holes with chicken wire.
Wrong height: Rabbits jump high! Go for 90 cm minimum.
Trying to do it on your own: Get a friend to help will make the task easier and safer.
11 Types of allotment fences:
Choosing the best option to protect your plot.
Hedges:
The live hedge is a popular way of enclosing space in the UK. Box is the classic choice for small hedges.
Below: If you are a masochist you can have hedges like this.
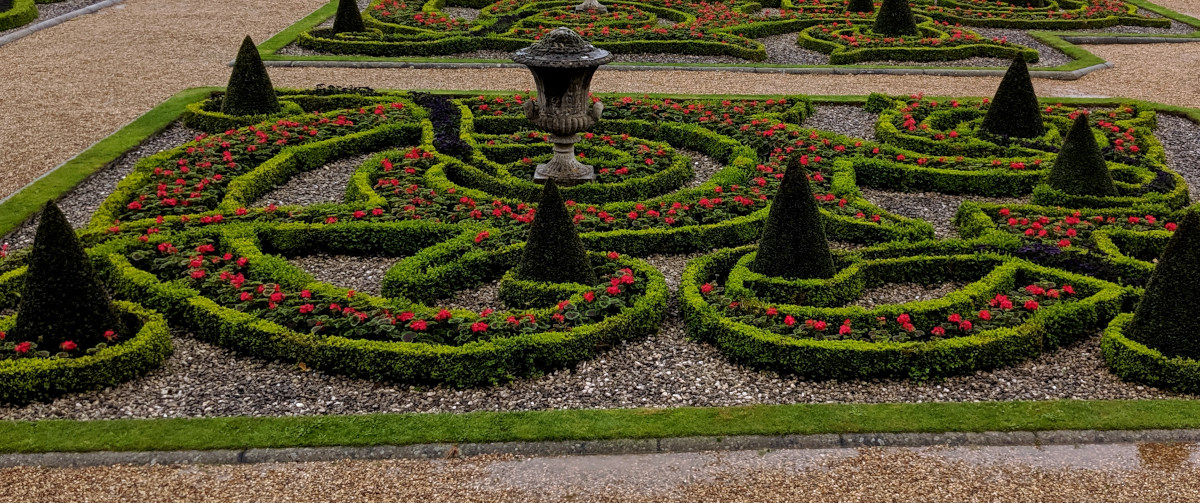
Why choose it? It’s amazing for wildlife and looks a million dollars.
Pro tip: Hedges like this are a lot of work.
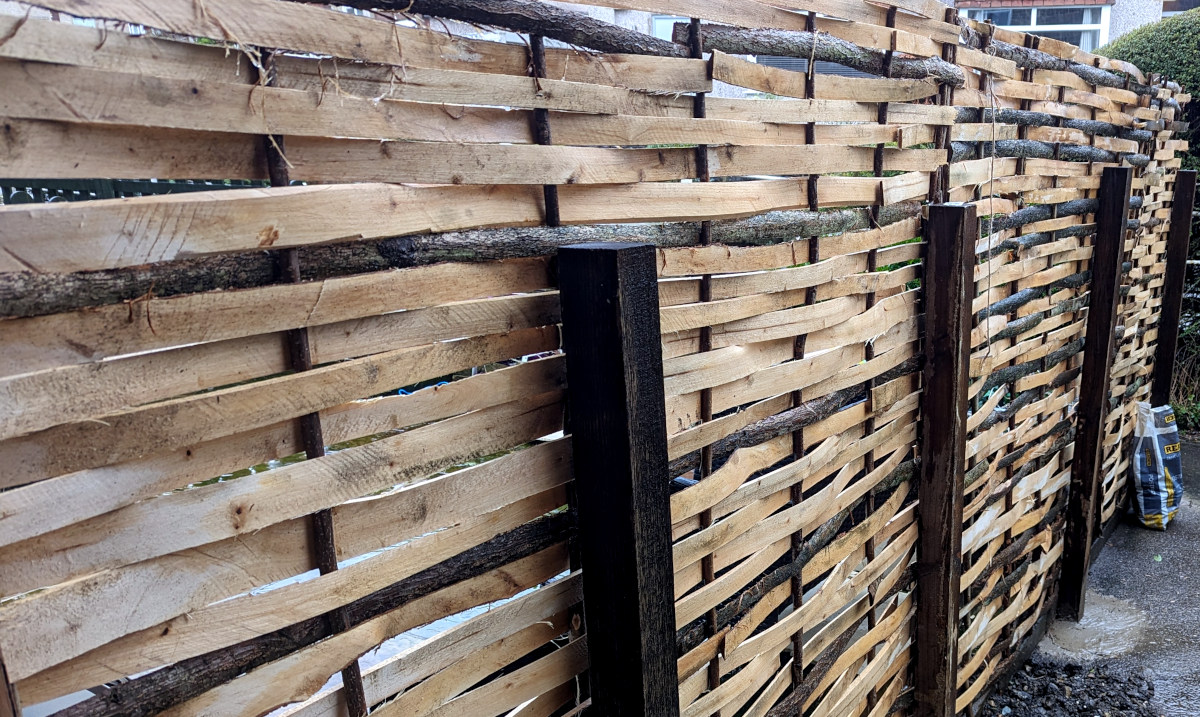
Dead hedges:
Dead hedges are structures made from cut branches, prunings, and other woody debris, stacked to form a natural barrier. They are easy to construct and serve multiple purposes, including providing habitat for wildlife, acting as windbreaks, and marking boundaries.
Below: A small dead hedge.
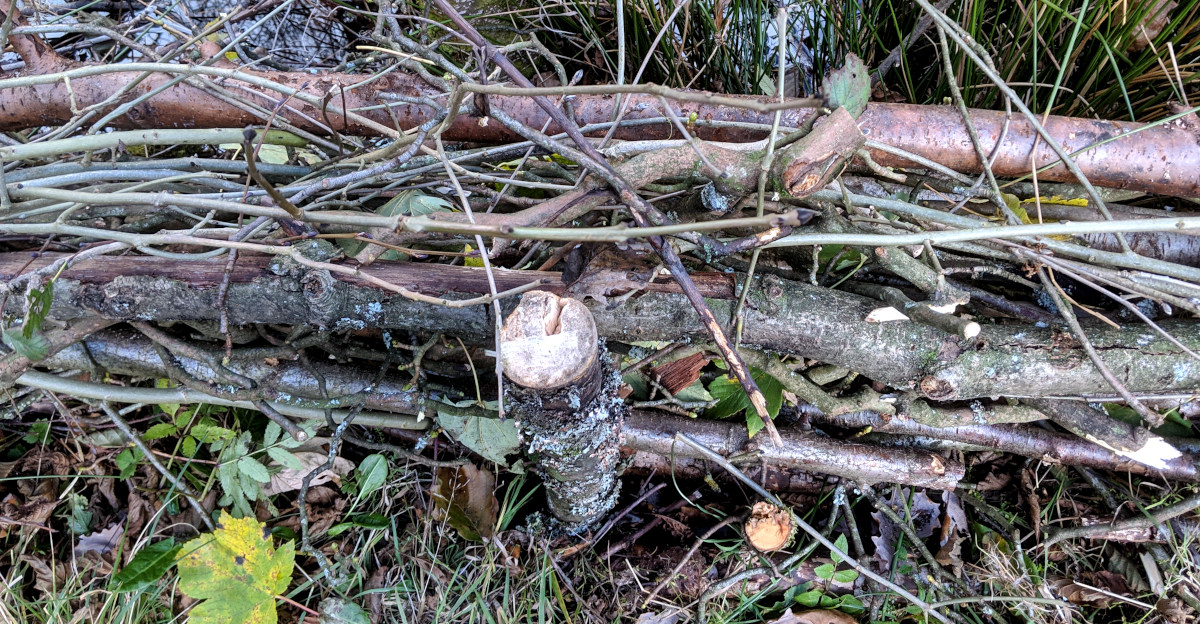
Over time, they slowly decompose, enriching the soil while still offering shelter for insects, birds, and small mammals. Dead hedges are an excellent way to recycle garden waste while promoting biodiversity and sustainability.
Why choose it? It’s easy, affordable and makes a good barrier.
Pro tip: Keep them tight and try to weave the branches into each other.
Log walls:
Stacked log walls are simple yet effective structures made by piling logs horizontally to create a sturdy barrier. They can be used for windbreaks, fencing, raised beds, or even wildlife habitats.
Below: The stacked log wall.
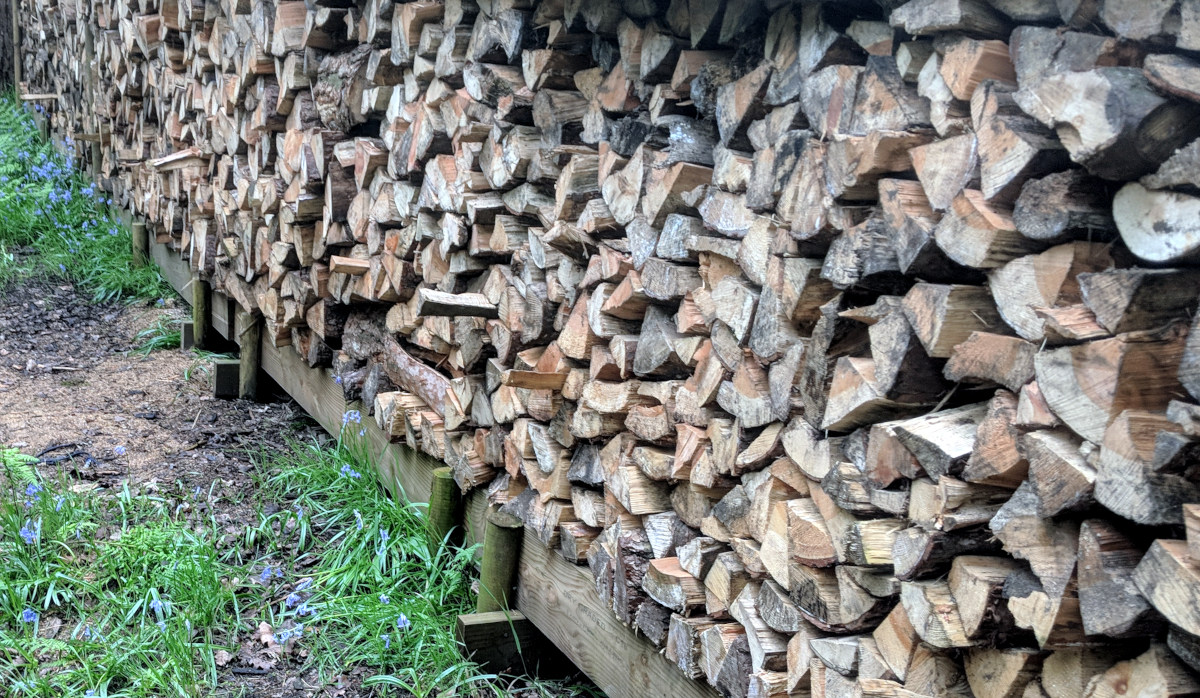
By carefully stacking logs of varying sizes and interlocking them at the corners, a stable and durable wall can be achieved without the need for nails or mortar. Over time, these walls provide shelter for insects, fungi, and small animals, contributing to biodiversity while serving a practical purpose in the landscape.
Why choose it? It’s affordable, good for wildlife and makes a good windbreak.
Pro tip: Build on a solid surface.
Dry stone wall:
Dry stone walls are a common sight all over the UK, being easy to build, lasting for decades and they can be almost any height. However they are expensive.
Below: A dry stone wall along the edge of the allotment.
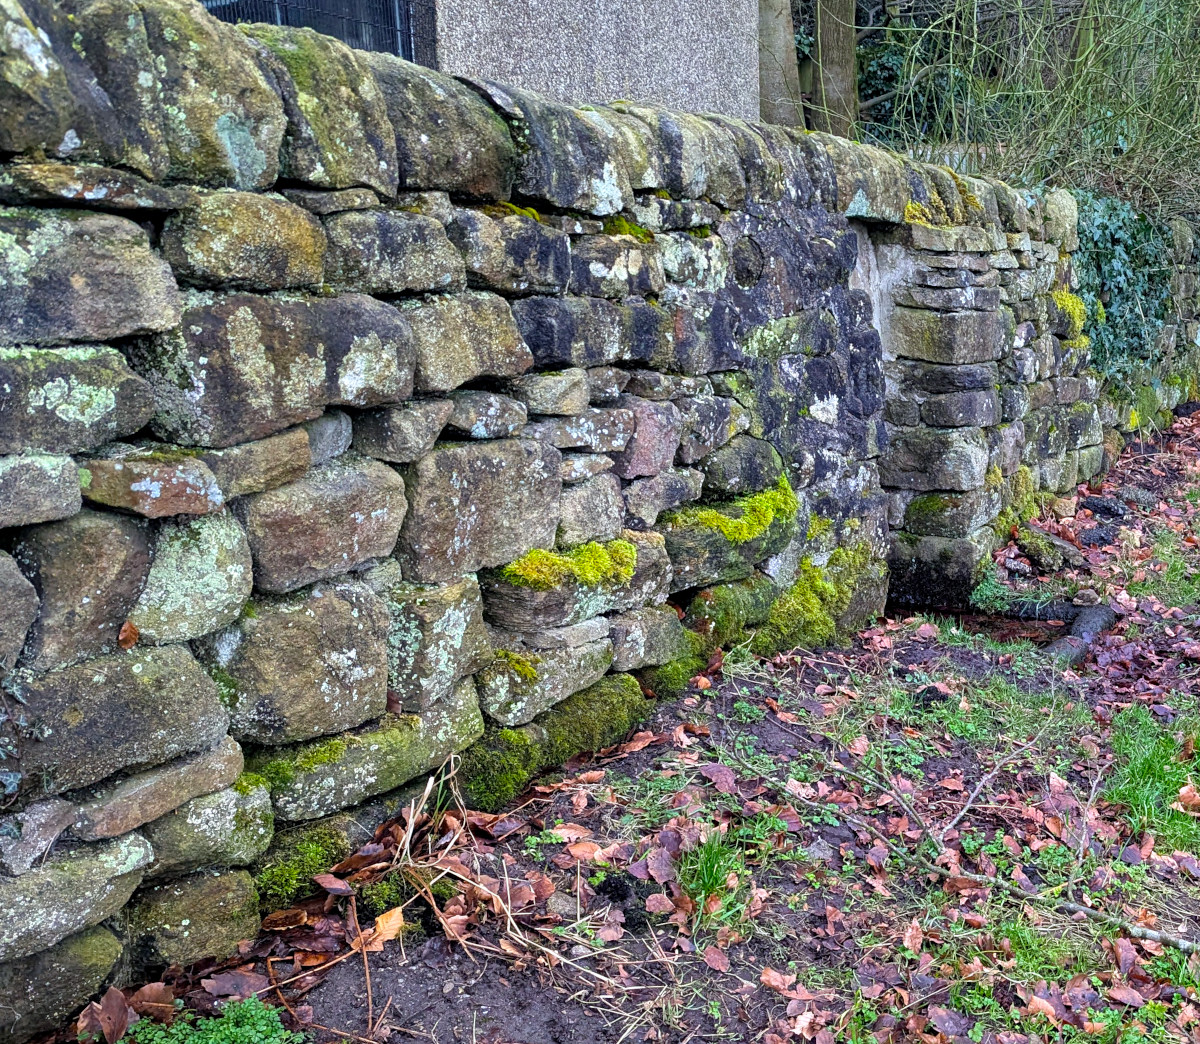
Why choose it? It’s everlasting and versatile.
Pro tip: It is expensive and requires some skill to build.
Chain link or stock fence:
Chain link fences are durable, affordable, and low-maintenance barriers made from interwoven steel wires. They are commonly used for security, pet enclosures, and boundary marking in residential, commercial, and agricultural settings.
Below: The standard UK type stock fence.
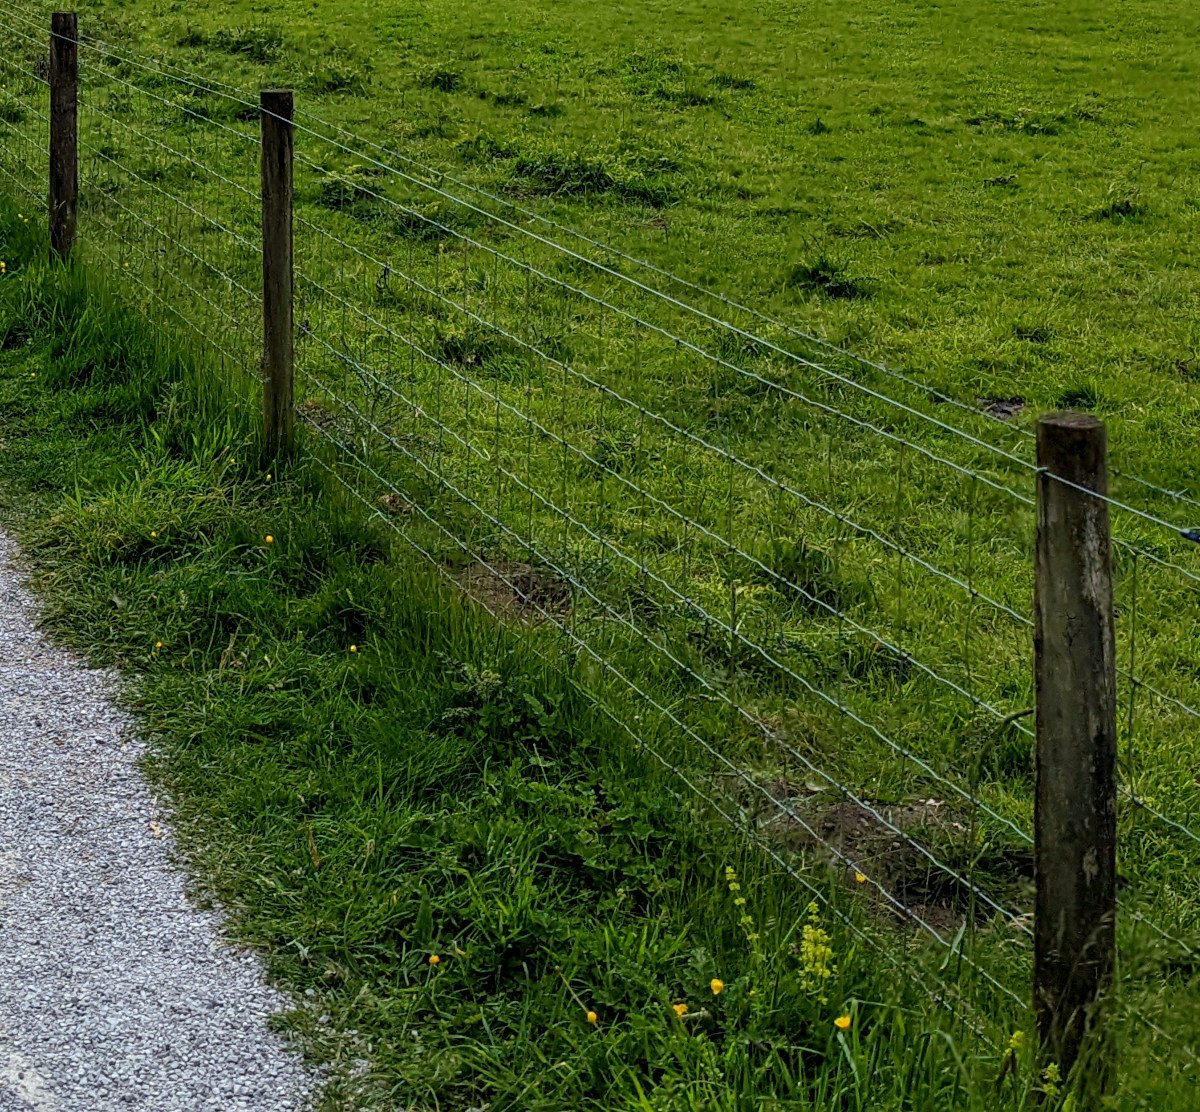
While functional, they offer little privacy, but this can be improved by adding slats, climbing plants, or fabric screens. Their open design allows for good airflow and visibility, making them a practical choice for many applications.
Why choose it? It’s affordable and stops small pests.
Pro tip: Bury the bottom 15 cm underground as some pests can dig.
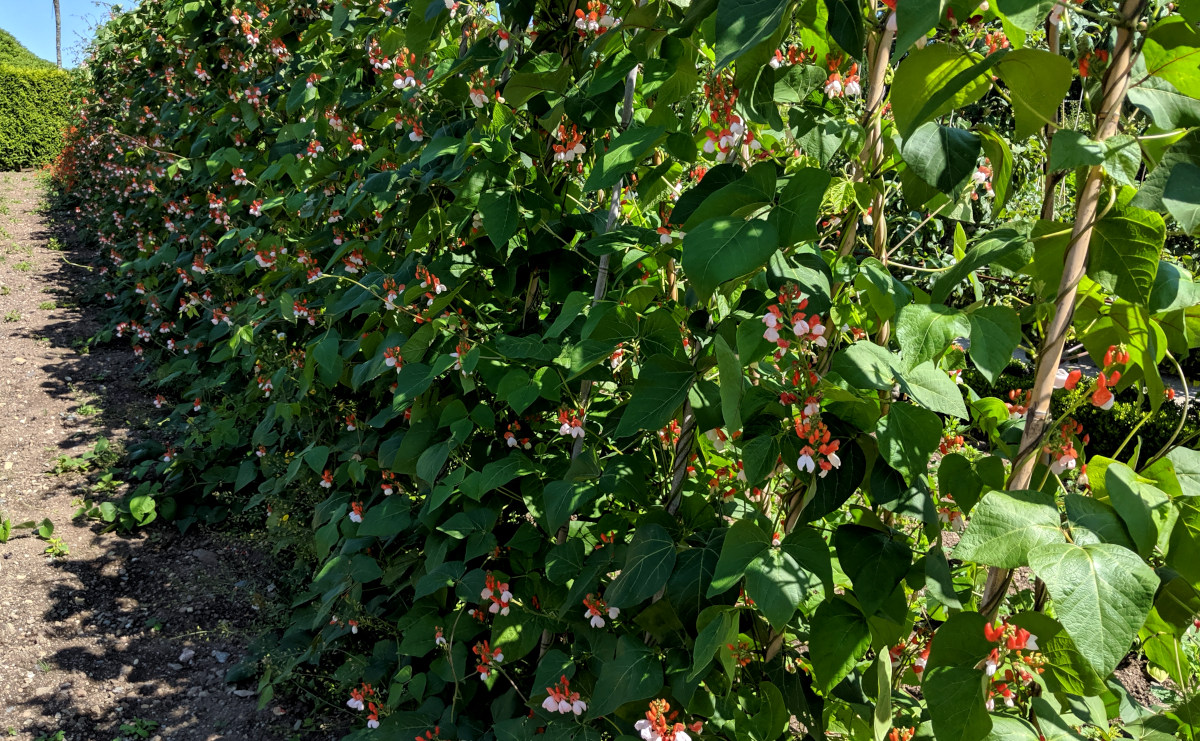
The living fence:
Living walls are vertical structures covered with plants, either rooted in soil-filled panels or hydroponic systems. They improve air quality, provide insulation, and create habitats for wildlife while adding greenery to urban spaces.
Below: The ultimate living fence.
Living walls can be installed on buildings, garden fences, or standalone frames, offering both aesthetic and environmental benefits. By incorporating a mix of plant species, they can support pollinators, reduce noise pollution, and even produce edible crops in small spaces.
Why choose it? It’s affordable and stops small pests. Pro tip: Any hard or soft fruit as well as most plants can be used to create living walls.
Wire mesh fencing: Wire mesh fencing uses galvanised steel and is generally a budget option. It resists rust and lasts years. I installed this after the rabbit incident, and it’s held up brilliantly.
Rabbit netting is a sturdier version of chicken wire, rabbit netting is specifically designed to keep out rabbits. It's usually made from thicker wire and has smaller holes. Rabbits can’t squeeze through, and it’s cheap!
Why choose it? It’s affordable and stops small pests.
Pro tip: Bury the bottom 15 cm underground as rabbits love to dig.
Wooden fencing is a classic: Wooden fencing uses treated timber. It looks rustic and blends with nature. A solid wooden fence provides excellent privacy and wind protection. However, it can be expensive and may require regular maintenance to prevent rot.
Below: the traditional wood fence.
Why choose it? It’s sturdy and attractive, perfect for traditionalists.
Pro tip: Paint with weatherproof sealant, or it’ll rot faster than your compost.
Plastic fencing: Plastic fencing uses recycled materials and is generally a low maintenance option. It resists weather and needs no upkeep. I have never used it as i prefer natural options and some sites won't allow it.
Why choose it? It’s lightweight and lasts ages.
Pro tip: Go for UV-resistant plastic, or it’ll fade and crack.
Willow or Hazel hurdles: Willow hurdles use woven branches. They’re sustainable and look gorgeous.
Below: I have 1 fence of split hazel hurdles. They are pleasing to the eye, easy to put up and surprisingly sturdy.
Why choose it? It’s eco-friendly and blends into natural settings.
Pro tip: Replace every 7 to 10 years as they don’t last forever.
Electric fencing: This is a bit of an extreme option but it deters larger pests like deer and foxes. It’s effective but overkill for most plots.
Why choose it? It’s great for rural allotments with big wildlife problems.
Pro tip: Check local laws as you might need permission.
Costs: What to Expect
The cost of fencing an allotment can vary widely depending on the materials used, the size of the plot, and whether you install it yourself or hire professionals.
A basic wire mesh fence with wooden posts might cost around £3–£6 per meter, while sturdier options like stock fencing or metal panels can be significantly more expensive.
Wooden panels cost £20-£30 per metre. Stone is very expensive and may cost £200 a metre or more.
I spent £50 on wire mesh for one 10 metre edge of my plot, but splurged £150 on willow hurdles for the left side wall as that is the direction of the wind. Worth every penny for the aesthetic!
Cheap options save money but might need replacing sooner. If you need rabbit-proofing or extra height to deter deer, costs will rise further. Second-hand or reclaimed materials can help reduce expenses, and some allotment sites have rules on fencing that may limit your choices.
Below: One of the cheapest options is the pallet fence.
Pro tip: Shop around—local garden centres often have sales.
Installing your allotment fence.
Before you start digging, carefully plan the layout of your fence. Make sure you have enough materials and that you know where any underground pipes or cables are located.
I winged it once and ended up with crooked posts. Now, I mark corners with stakes and use a spirit level.
Steps to follow:
- Clear the area and mark boundaries.
- Dig post holes at least 30 cm deep.
- Set posts in concrete for stability.
- Attach fencing material tightly.
- Check for gaps—pests love shortcuts!
Pro tip: Get a mate to help. Fencing solo is like herding cats, frustrating and slow.